Product photoshoot
Turn one product photo into an AI photoshoot: a studio shot, a second angle, a close-up and a colourway from one set, for a store page or a launch.
The Product photoshoot workflow turns one photo of your product into four pictures from the same studio: a studio shot, a second angle, a close-up and a colourway. It's for store pages, launch pages and ads, where the pictures have to sit together. Its skill holds what makes a shoot hang together. The product stays exactly as it is in your photo, and every picture shares one set and one light. Each kind of shot gets the right lens, and every picture is 4:3.
- Makes
- 4 things in 2 steps: image
- Takes
- About 3 minutes
- Files to drop in
- 1, needed: Product photo
- To make it all
- About 30–60 credits
What you'll make
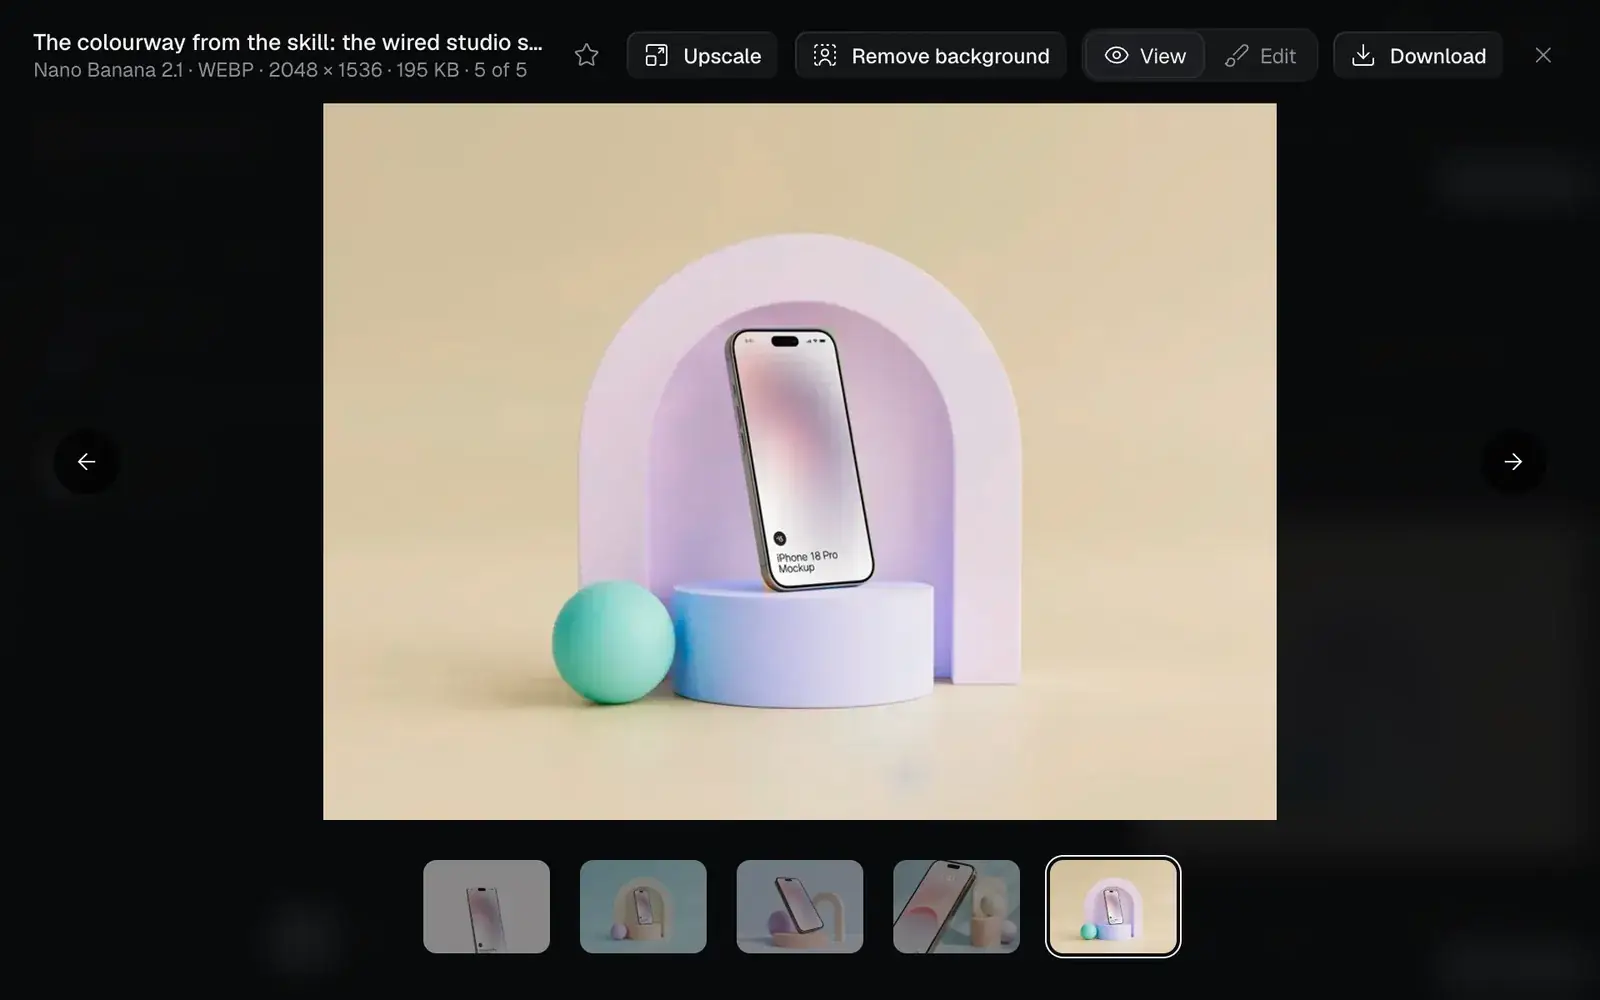
Four 4:3 pictures at 2K, all of your product on one set. These were made in Fil with this workflow:
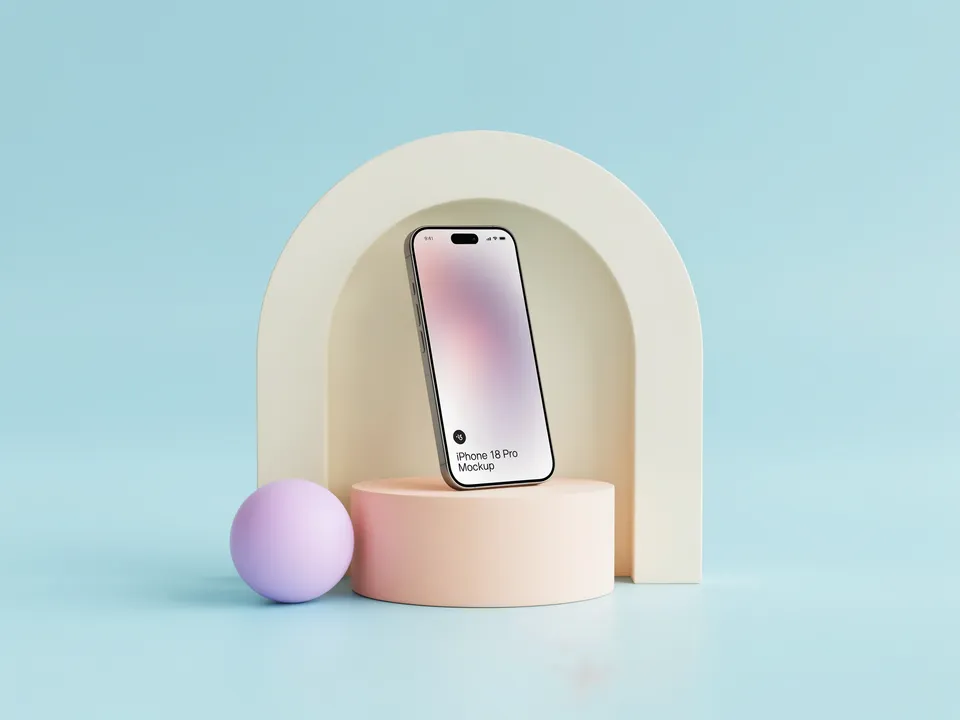
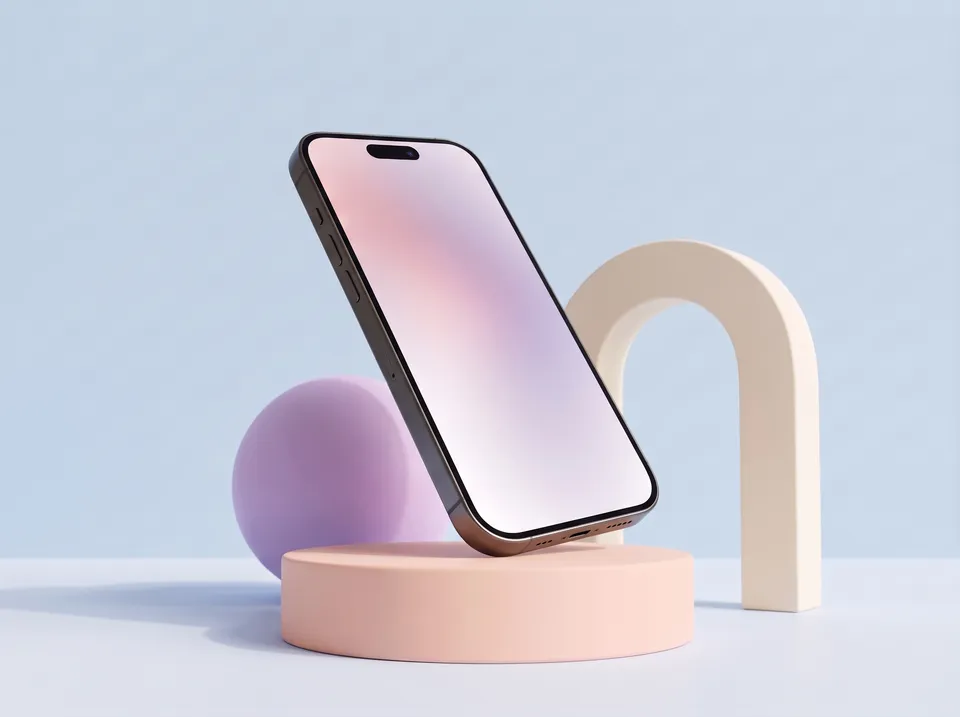
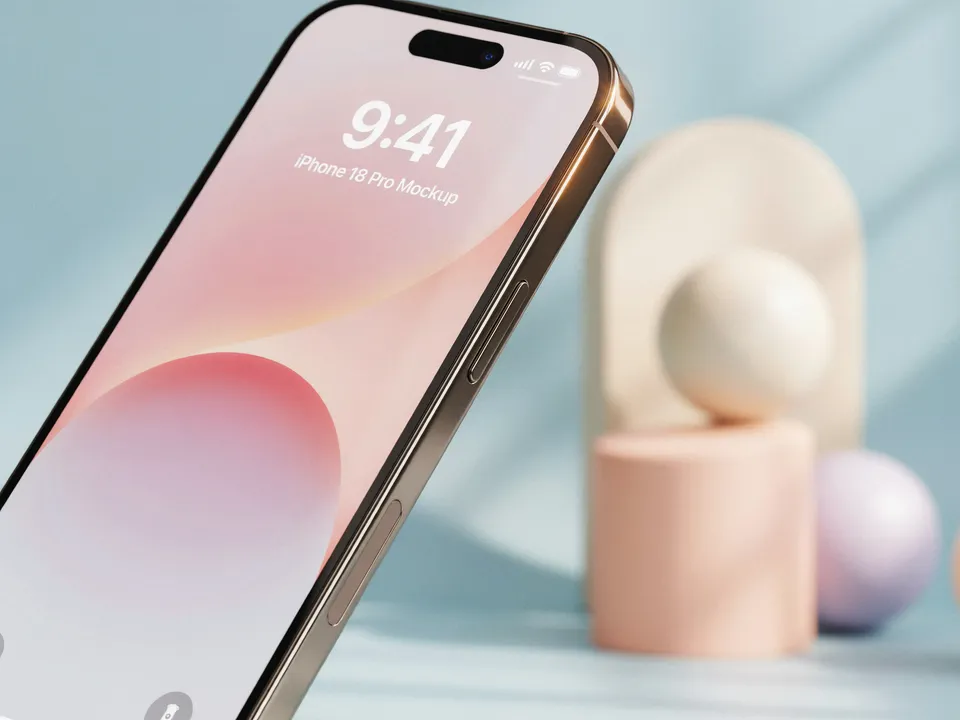
Also made when you run it: Colourway.
Before you start
- Product photo (needed): one clear, sharp photo of your product, whole, on a plain background. Every picture keeps the product exactly as it is in it: its shape, colours, logo, label and screen. A packshot or a phone photo on a white table both work; a photo with hands, other products or a busy room doesn't.
- Shoot notes.md, the brief: the product in a few words, the set, a palette of two or three colours, a second palette for the colourway, and one or two props, or none. Claude writes it from your idea and answers.
Think about the set before you start: "pastel podiums and an arch", "dark stone and linen", "a marble counter by a window". The more concrete the set, the more the four pictures look like one shoot.
Make a product photoshoot, step by step
Start it from your idea
- Click Workflows in the sidebar, then the Image filter. Click Product photoshoot to open its page.
- Click Start this workflow. A new canvas opens at once, with a bar under "Opening Product photoshoot…" while its nodes are set up. Then the start card, "Let’s make your product photoshoot", glows over the canvas and asks what the product is and where it should be shot.
- Describe the product and the set in a sentence, such as "Aria, our new phone, on soft pastel podiums and an arch, for the launch page". As you type, the canvas builds itself beside the card.
- Click the Product photo tile under the box and pick your photo in "Your image for Product photo", or click Upload there to add one from your computer. You can also drop a file on the tile. It reads Added. Press Continue.
- Claude asks up to three quick choices about the set, such as the palette, the props and the colourway. The first answer to each is tagged Suggested. To answer in your own words, pick Say it your way and write in the box it opens; left empty, Claude chooses for you. Press Fill in my canvas.
- Claude writes Shoot notes.md from your answers ("Filling in your canvas…"), and the Ready to make it step opens.
If you skip the photo, the quick choices ask for it, and the Ready step says "Product photo is still empty" with Add product photo as its main button. Generate without it runs anyway, and every picture makes up a product from the brief.
Check the shoot notes
The shoot notes hold the whole set in five lines: the product, the set, the palette, the second palette and the props. To read them full size, point at Shoot notes.md and click its expand icon (Edit full screen). Change a colour or a prop there before you generate, and all four pictures follow it. Or describe the change under Ask Claude beside the page and press Rewrite: it's free, and saved as a new version you can go back from.
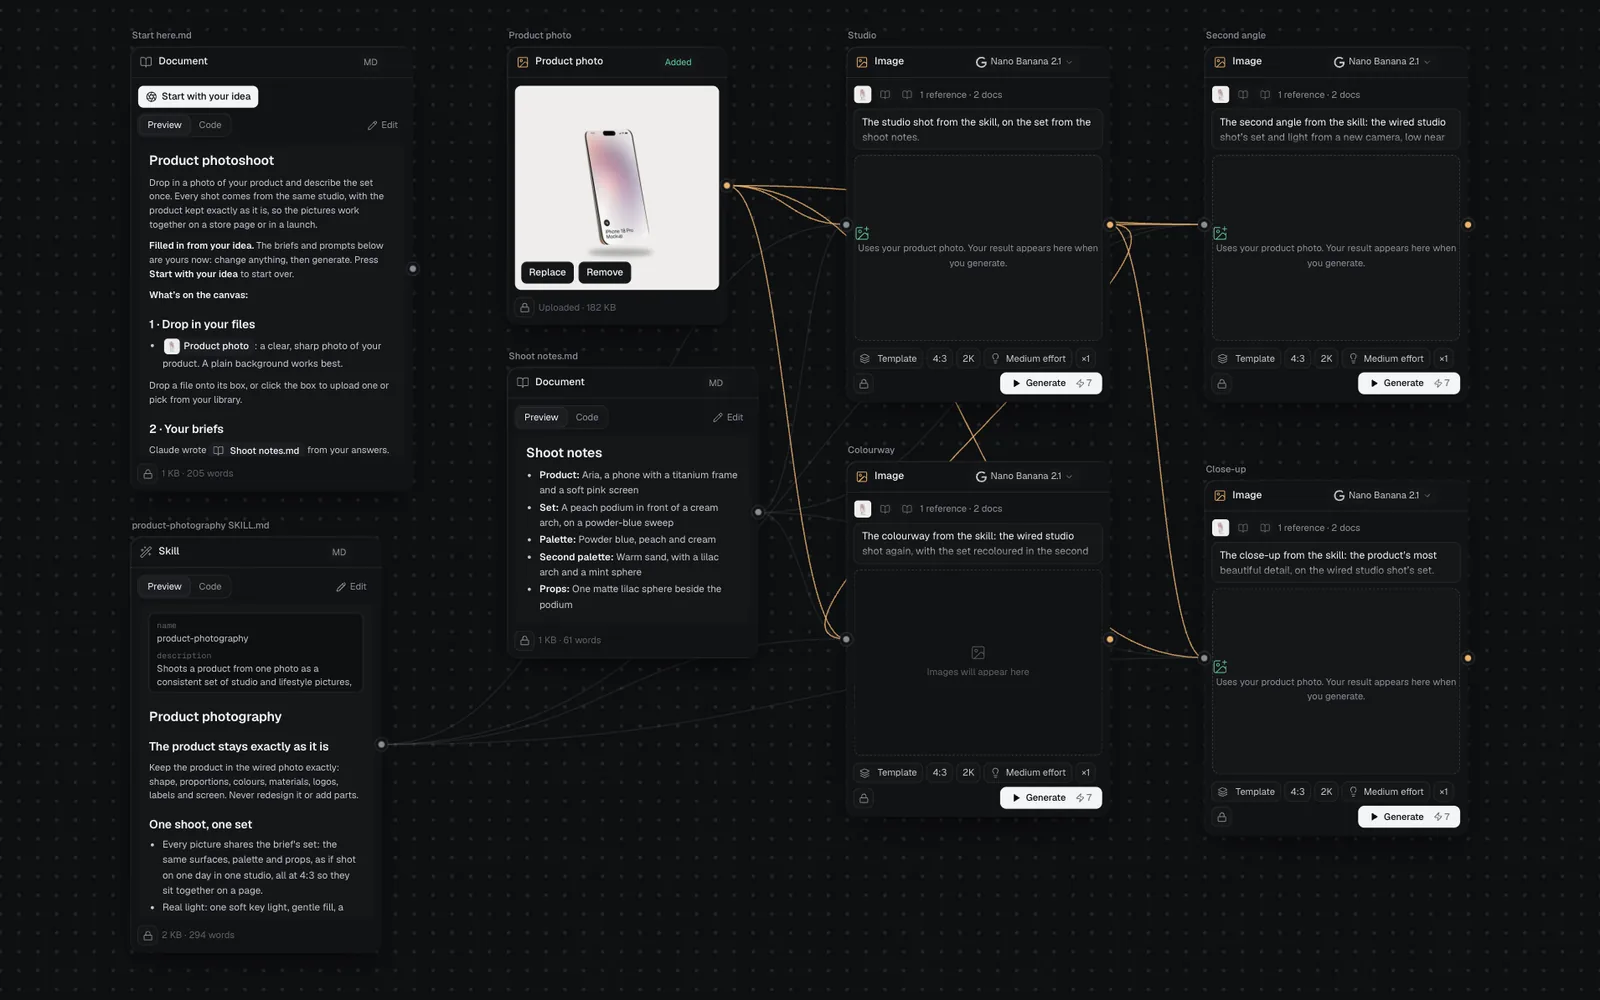
The canvas lays the shoot out left to right: your photo, the notes and the skill, then Studio, with Second angle, Close-up and Colourway beside it. Once your photo is in, each step says "Uses your product photo" where its example was, until it makes its own picture. (In the picture below, the skill and Colourway have been dragged into the gaps so the whole canvas fits; you can drag any node by its name.)
Generate all and follow it in the chat
- The Ready to make it step lists the four pictures in two rows, each at 7–14 credits. Press Generate all 4.
- The canvas chat opens on the left and follows the run. Studio goes first; Second angle, Close-up and Colourway wait for it, since each one starts from the studio shot.
- Each step shows live: what's being made, then Claude checking it against the shoot notes and your photo. If the product changed or the set drifted, Claude mends the picture or makes it once more, and the new take replaces the first.
- The run ends with "Made 4 of 4", how long it took and what it cost. Click a step in the chat to show it on the canvas.
While it runs, write in the chat to steer it, such as "make the light a little warmer": Claude changes the prompts of the pictures still to come, for free. Making a picture again shows its price and waits for you to press Make again. See Chat with Claude.
Download the pictures
- Double-click a picture on the canvas to open it full size, or point at it and click its expand icon (View full size). The arrows, or the strip along the bottom, step through every picture on the canvas.
- Click Download at the top right to save the one you're looking at. Each picture downloads on its own.
- From the same bar, Upscale adds an Upscale node beside the picture for a copy twice the size, and Remove background a Cutout node with the product on its own. Each runs when you press Generate on it, its price on the button. See Upscale and remove the background.
The steps it runs
| Step | What it makes | Model and settings | Reads |
|---|---|---|---|
| Studio | The product whole and centred on the set, in a three-quarter view | Nano Banana 2.1, 4:3, 2K | Product photo, Shoot notes.md, skill |
| Second angle | The same set from low and closer, turned around the product | Nano Banana 2.1, 4:3, 2K | Studio, and what it reads |
| Close-up | One detail or material filling the frame, with a shallow focus | Nano Banana 2.1, 4:3, 2K | Studio, and what it reads |
| Colourway | The studio shot again, its set in the second palette | Nano Banana 2.1, 4:3, 2K | Studio, and what it reads |
Every step reads your photo, so the product is copied from it each time, not from the picture before.
Make it yours
- The set: change Set, Palette or Props in Shoot notes.md, then generate again. Every picture follows the notes.
- More colourways: change Second palette and press Add on the Colourway node. The new take joins the first in the same node, so you can compare them.
- Shape: every picture is 4:3 so they sit together on a page. For a wide banner, change a node's 4:3 chip to 16:9 before it runs.
- Another model: each node's model menu switches it to another image model, such as GPT Image 2.5 Flare or Seedream 5.0 Pro. See Image generation for what each does best and its price.
- The skill: product-photography SKILL.md holds the rules for each shot, the light and the lenses. Edit it and every node wired to it follows. See Prompts, documents and skills.
Product photoshoot time and cost
From your idea to the four pictures takes about 3 minutes; Generate all runs for just over a minute of it. It costs about 30–60 credits, as the workflow's page rounds it; the Ready step shows 28–56.
Each picture costs 7 credits on Nano Banana 2.1 at 2K, or up to 14 if Claude's check has it made again (a changed product or a drifting set). A run where every picture passes its check costs 28.
Tips
- Shoot your product photo straight on or at three-quarters, in soft light. Glare and stickers on it come back in every picture.
- Name the materials in the Product line ("a titanium frame and a soft pink screen"). The close-up picks its detail from them.
- Keep to one or two props. Every prop comes back in every shot, from every side.
- Pick a colourway that suits where it will be seen: close to your store's background for a product grid, a bolder one for an ad.
Related
- Product promo video: the same product photo as stills, clips, an end card and music.
- Packaging design: your pack's artwork, then the pack, the range and a lifestyle shot.
- Social campaign: one product photo as three posters and a post for each platform.
- Upscale and remove the background: a larger file or a cutout of any picture.
- How workflows work: the gallery, the quick choices and the run in the chat for every workflow.