Logo and brand guide
Make a logo with AI: explore marks in three directions, turn the strongest into a brand board, and get a one-page brand guide with colours, type and voice.
The Logo and brand guide workflow explores marks for your brand in three directions, builds a brand board around the strongest one, and turns the board into a one-page brand guide you can edit and publish. It suits a new product, a side project or a rebrand. Its skill holds what makes a mark work: flat shapes that read at 16 px and in one colour, wordmarks that spell the name exactly, and no swooshes, globes or clip art.
- Makes
- 5 things in 3 steps: image, web
- Takes
- About 4 minutes
- Files to drop in
- 3, all optional: Current logo or sketch, Mood reference, Chosen mark
- To make it all
- About 35–110 credits
What you'll make
Three exploration sheets of six to nine marks each, a brand board built around one mark, and a brand guide page (shown in Open and publish the brand guide). These were made in Fil with this workflow:
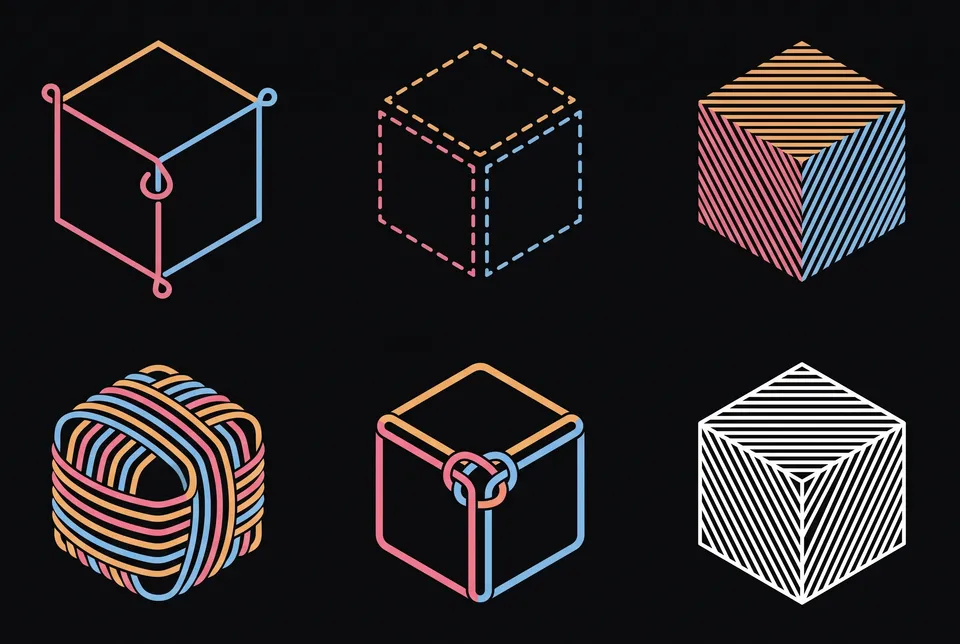
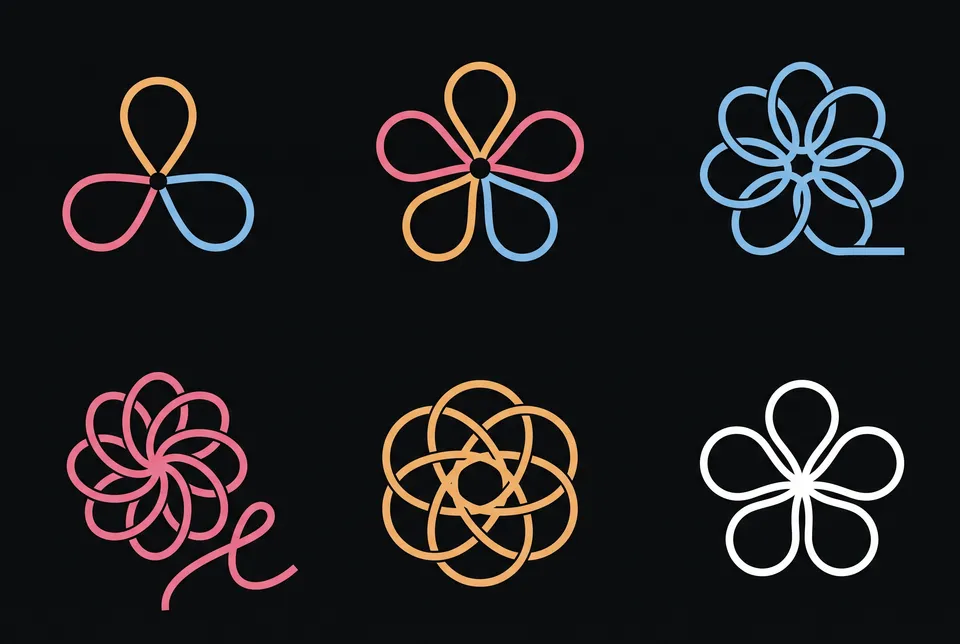
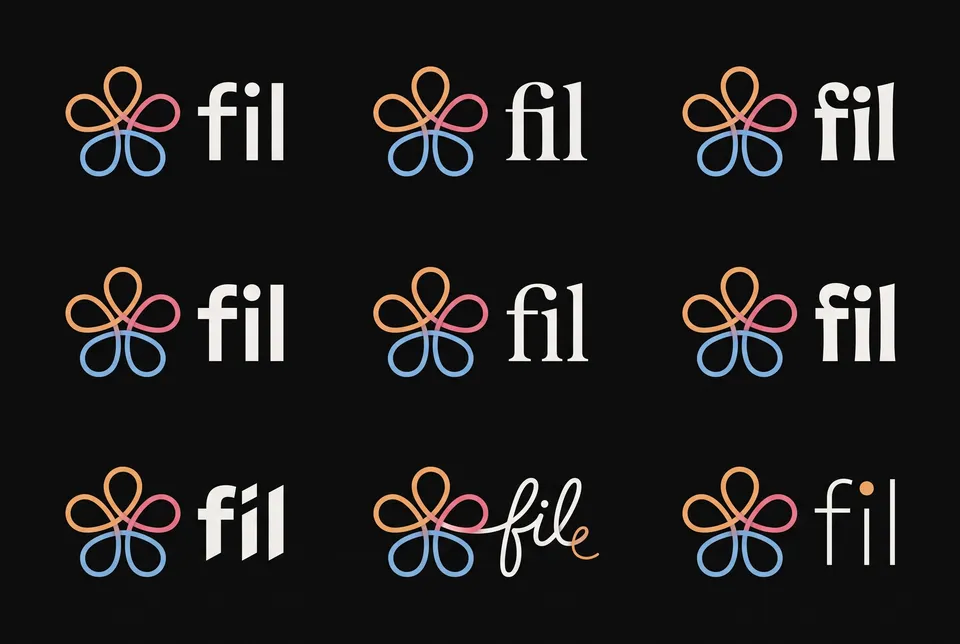
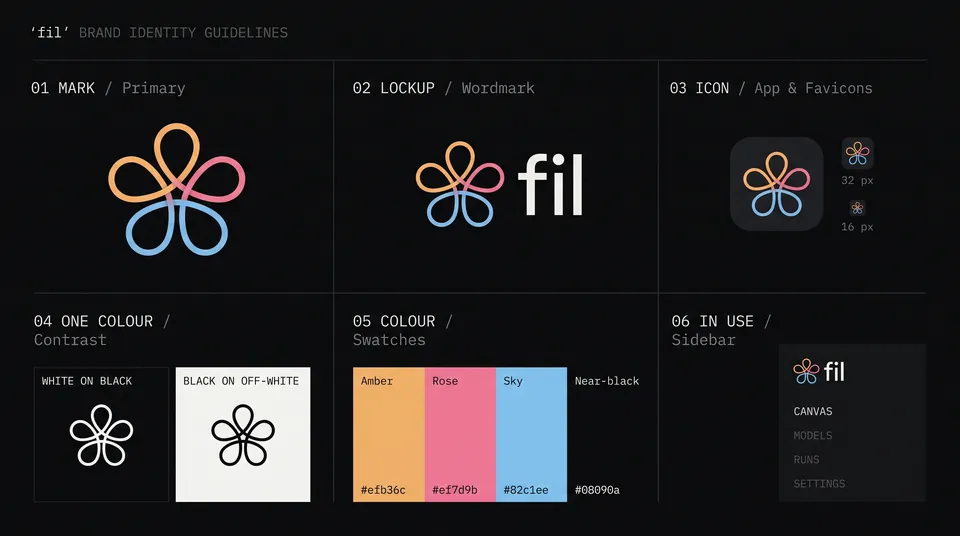
Also made when you run it: Brand guide.
Before you start
Nothing has to be uploaded. The canvas has three places for pictures, all optional:
- Current logo or sketch: your logo, a napkin sketch or a mark you like. Every direction then builds on it, so leave it empty when you want new ideas. Until you drop yours in, it shows an example (the Fil cube, marked "e.g.").
- Mood reference: a photo, poster or brand whose feel you want. It feeds the three sheets and the board.
- Chosen mark: for later. Once the sheets are made, drop in a crop of the mark you like best and the board builds on it, instead of picking the strongest itself.
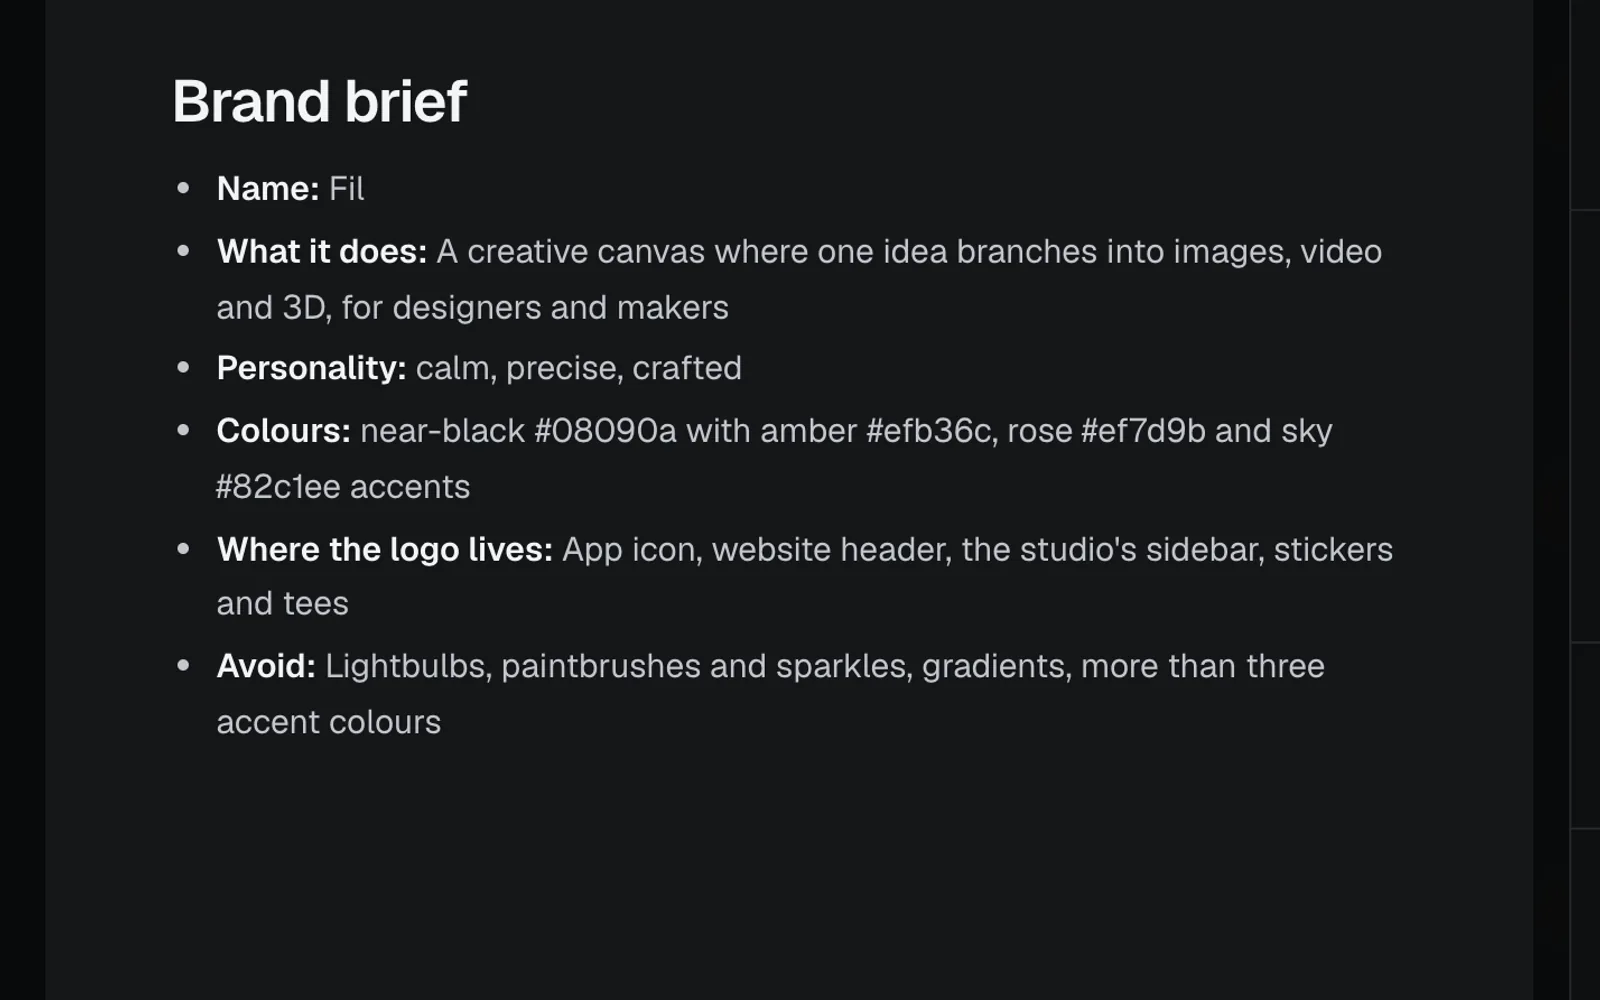
The brief, Brief.md, asks for the name, what the brand does and for whom, three words for its personality, its colours, where the logo will live and what to avoid. Claude writes it from your idea when you start, so have the exact spelling of the name and any colours you already use (as hex codes) to hand.
Make a logo and brand guide, step by step
Start it from your idea
- Click Workflows in the sidebar. Logo and brand guide is one of the large cards at the top of All, and under the Image filter. Click the card to open its page.
- Click Start this workflow. The new canvas opens at once, and the start card comes up over it, headed "Let's make your logo and brand guide" and asking "Describe the logo and brand guide you want."
- Say what the brand is in a sentence, such as "A logo for Fil, a creative canvas where one idea branches into images, video and 3D", or click the Try idea under the box. As you type, the canvas builds itself beside the card, link by link, and the examples come into focus. Drop your logo or a mood picture on their tiles if you have them, then press Continue (or Enter).
- Claude asks up to three quick choices; for this idea, how the brand should feel, which colours and which kinds of mark to try. The first option of each is tagged Suggested. Pick another, or pick Say it your way and write your own answer in the box it opens. Then press Fill in my canvas.
Check the brief and the directions
Claude writes Brief.md and each direction's prompt from your answers, and names the canvas after the project. Everything is on the canvas before anything runs: two of the places for your pictures on the left (Chosen mark sits by the board), then the brief and the skill, the three directions, their sheets, the board, and the guide on the right.
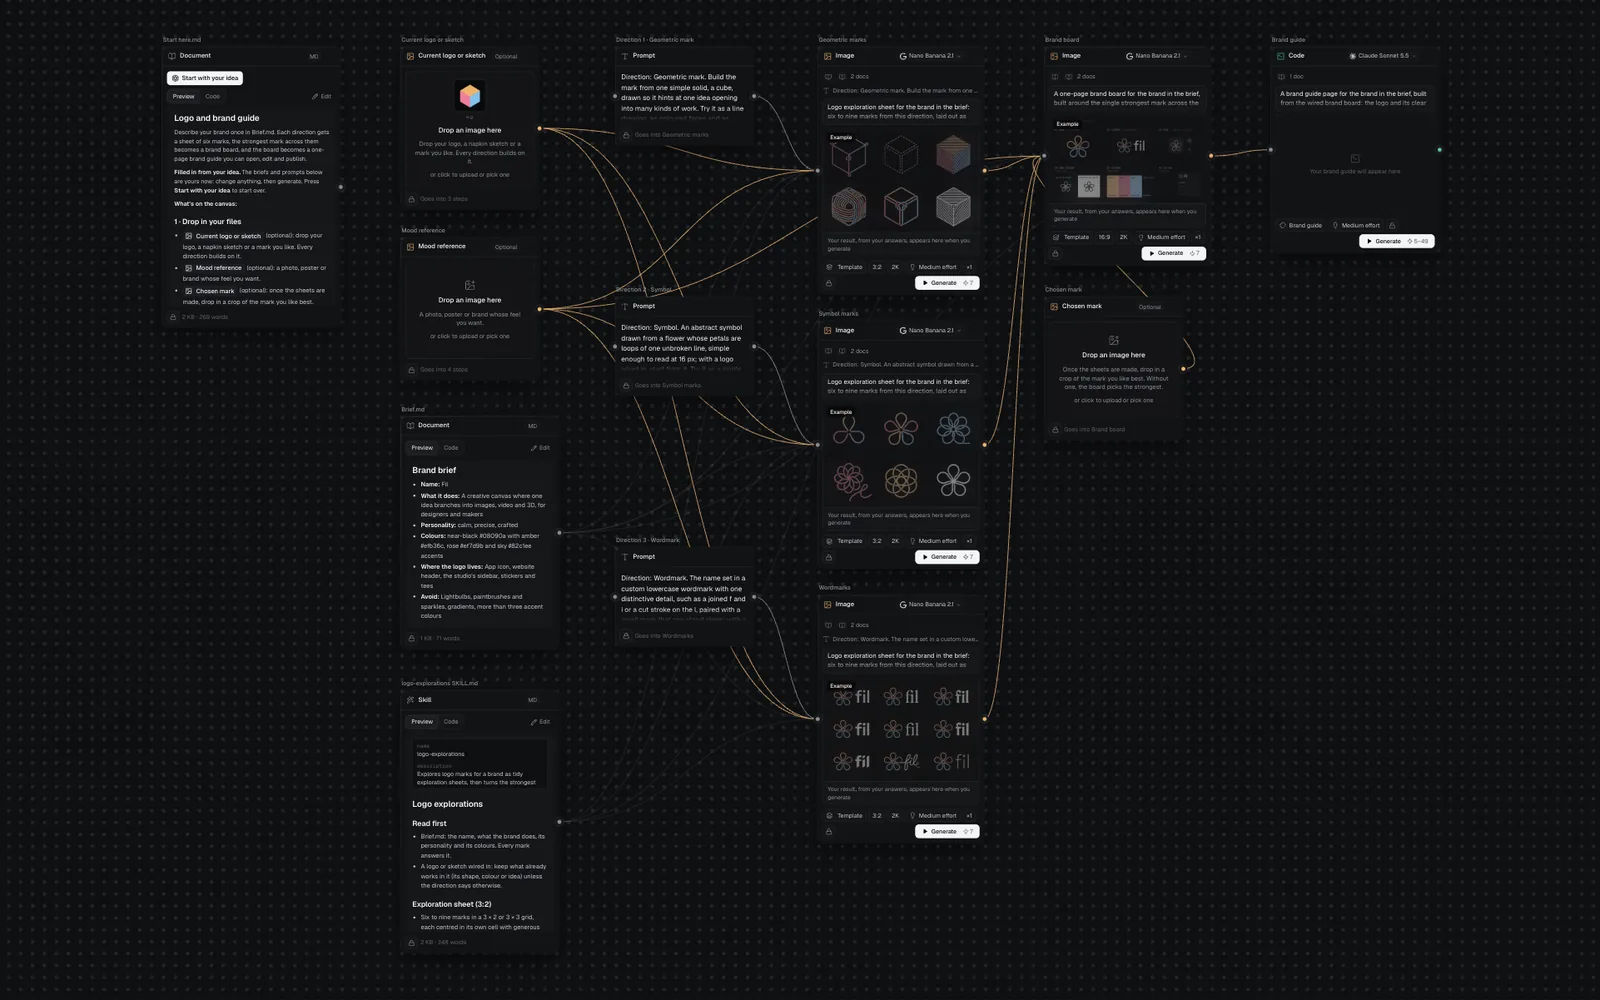
To read the brief whole, point at Brief.md and click its expand icon (Edit full screen). Change any word, or rewrite a direction, before you generate.
Generate all and follow it in the chat
- The Ready to make it step lists the five things it makes, in three numbered steps, with their credits. Untick a step to leave it out (anything that needs it goes too).
- Press Generate all 5. The button shows the price as a range, up to the most it can cost; with a step unticked it reads Generate 3 or however many are left.
- The canvas chat opens on the left and follows the run. The three sheets start at once. Claude checks each against the brief as it's made, and mends it or makes it once more if it breaks the brief; the chat shows each sheet with what the check said, such as "The name spelled f-i-l on every mark".
- The Brand board starts as soon as all three sheets are done, then the Brand guide. The chat ends with "Made 5 of 5", how long it took and what it cost. Click a step there to show it on the canvas.
While it runs, write in the chat to steer it ("make the wordmarks heavier"): Claude rewrites the brief or the prompts of the steps still to come, for free. Making a sheet again shows its price and waits for you to press Make again. See Chat with Claude.
Open and publish the brand guide
Hover the Brand guide node's page preview and click the expand button at its top right (View full size). The guide opens full size; scroll it like any web page, past the mark and its clear space and the logo on light and dark, to the palette, the type, the voice, and the do's and don'ts.
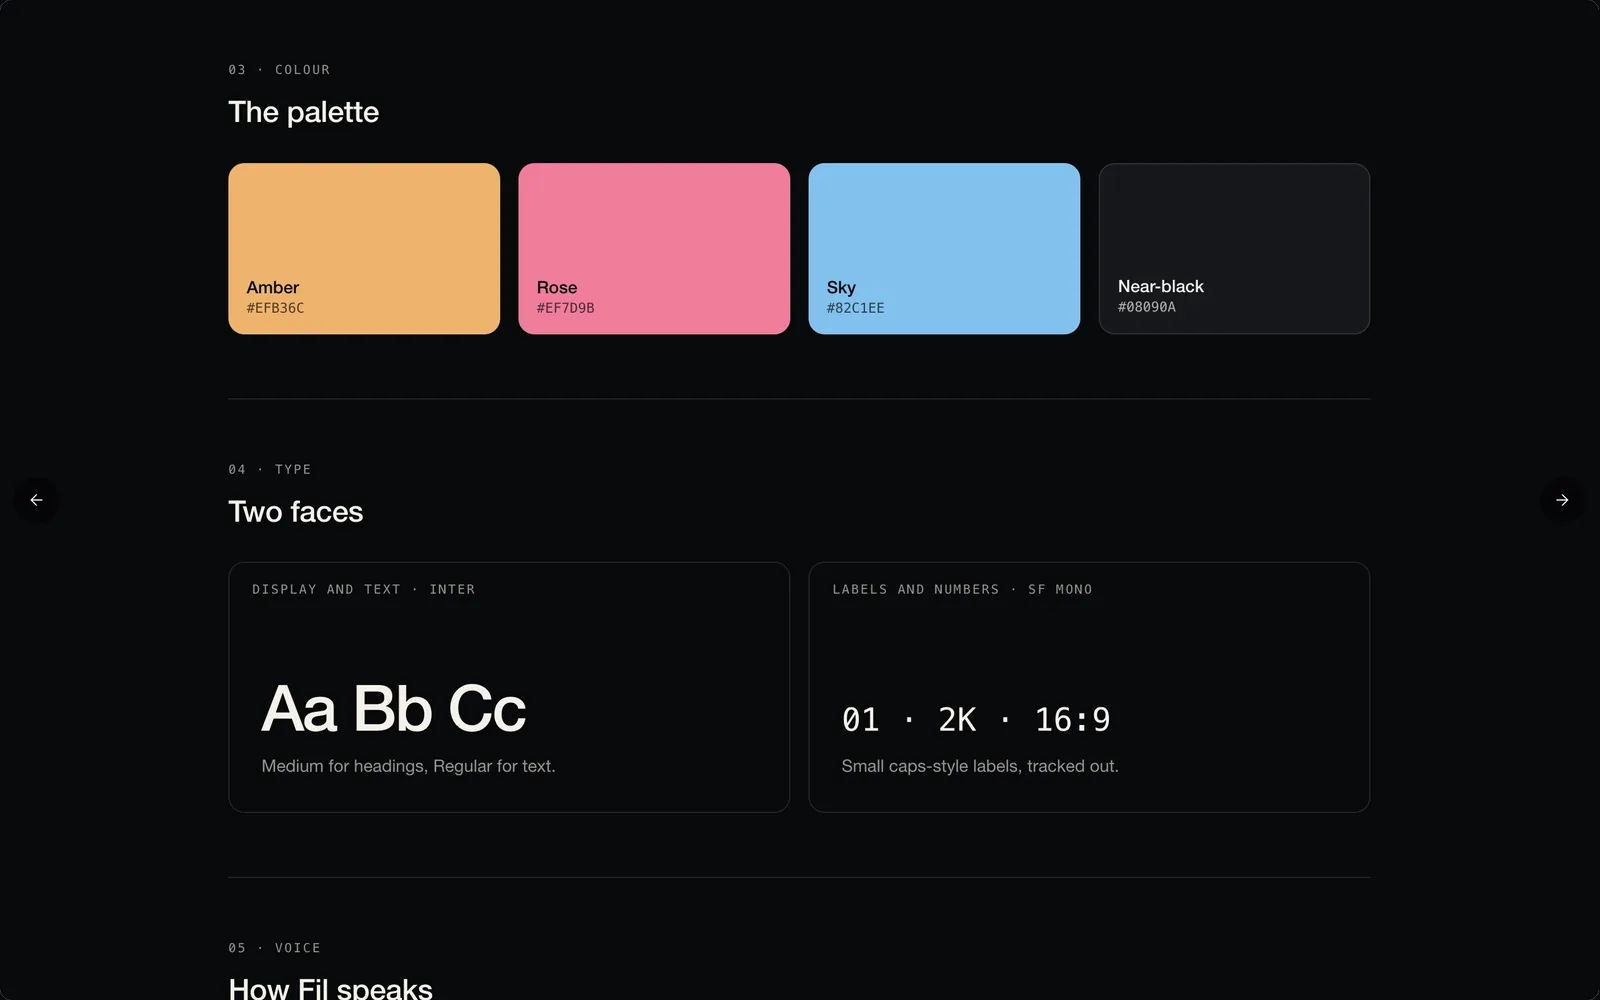
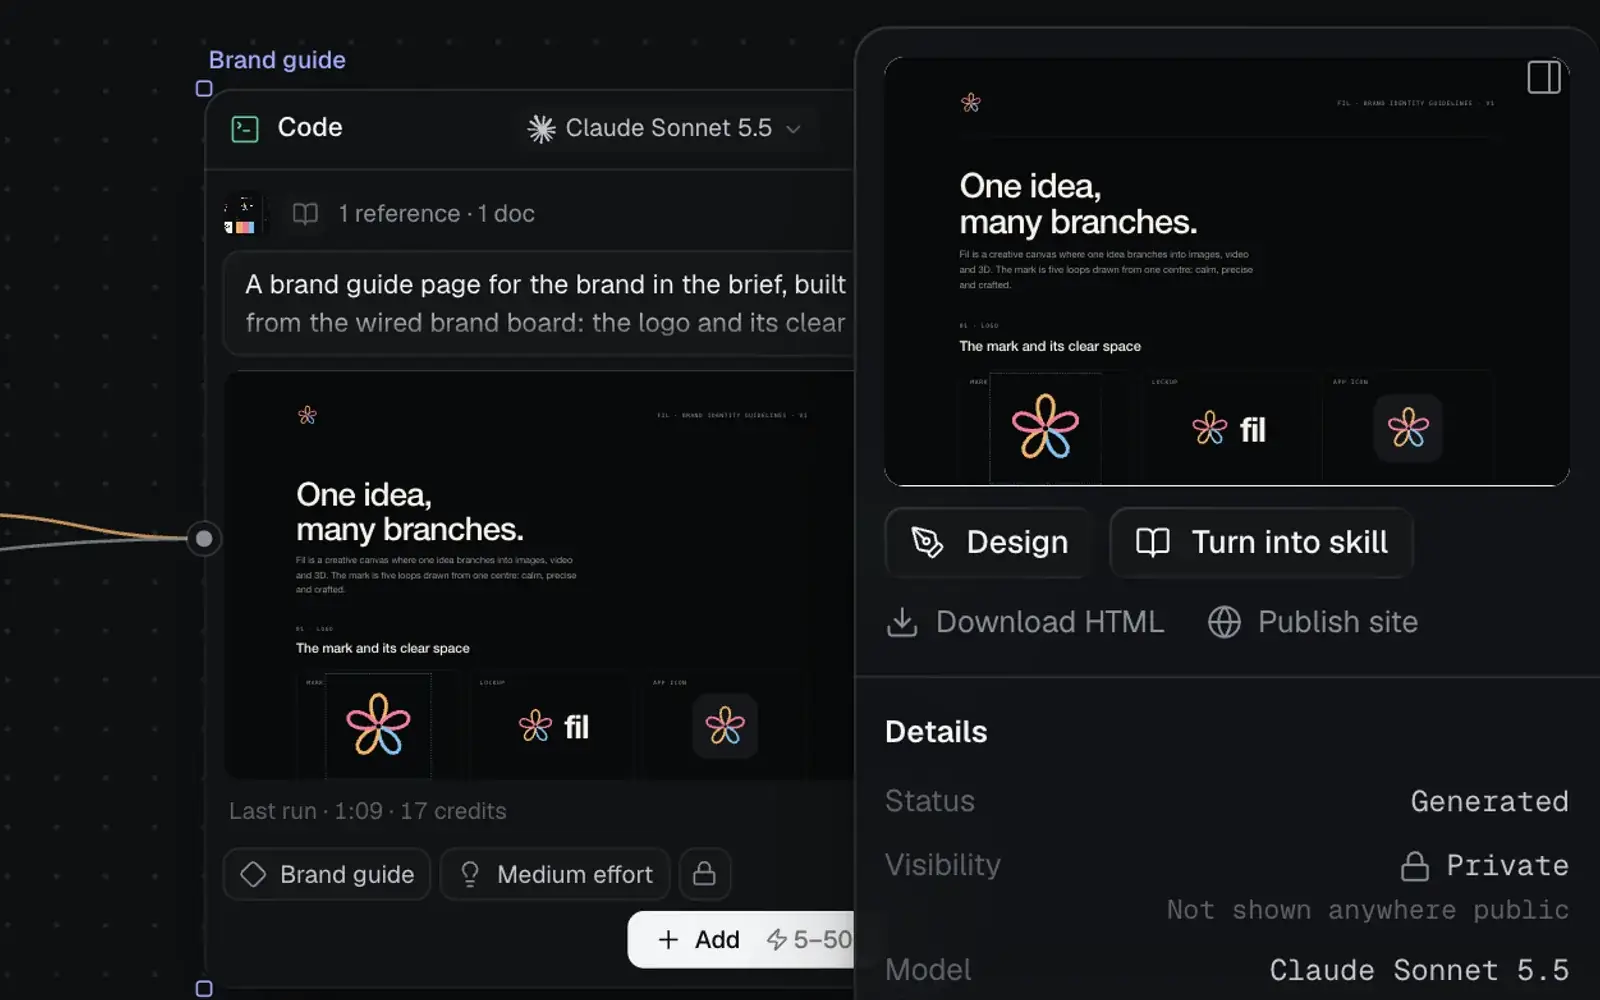
Close it and click the node's name to select it. The panel on the right has what comes next:
- Publish site puts the guide online. It opens the Publish popover with the address it will get, made from its name (yourname.fil.design); press Publish and it's live for anyone with the link. See Publish a website.
- Design opens it to change its words, colours and layout by hand. See The Design tab.
- Download HTML saves the page as one file.
Download your logo as a transparent PNG
The sheets and the board are pictures of many marks. To use one mark on its own, as a PNG on a clear background:
- On the Brand board (or the sheet with the mark you like), point at the picture and click the brush at its top right (Edit), then Crop. Pick 1:1, drag a corner to shrink the box round the mark, and click Crop. The crop appears beside the board as a picture node whose foot reads Uploaded. See Crop an image.
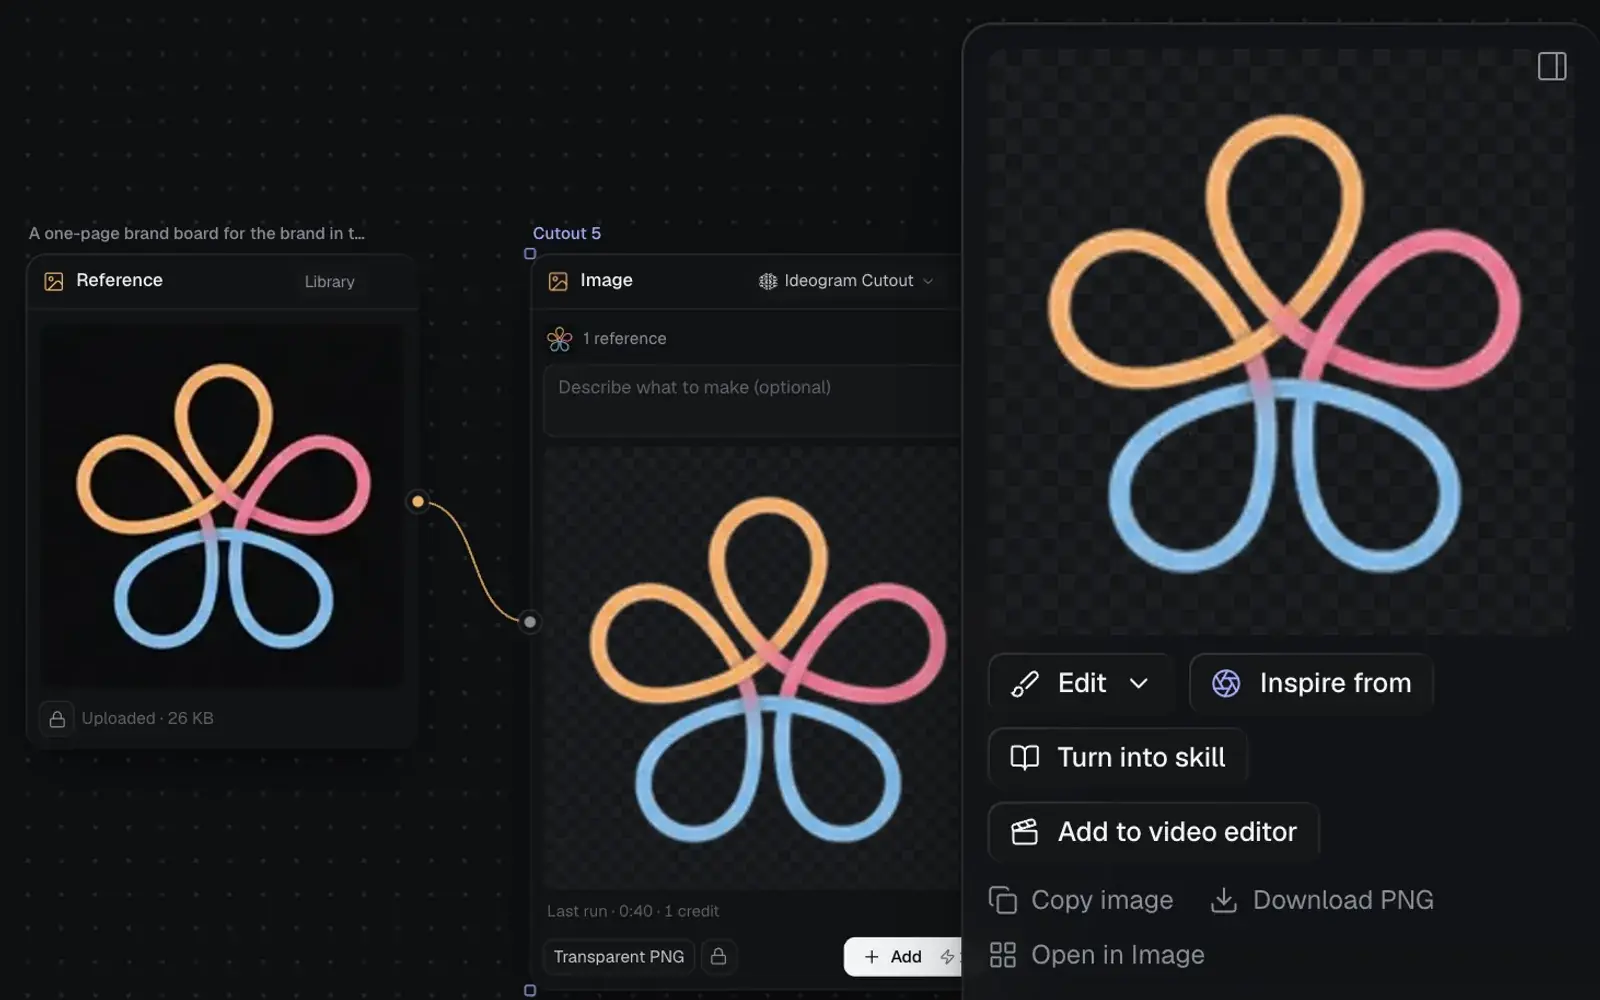
- Point at the crop, click Edit again, then Remove background. A new Image node named Cutout and a number appears, wired from the crop, on Ideogram Cutout. Click its Generate (1 credit).
- Click the cutout's name to select it, then Download PNG in the panel on the right. The checkerboard behind the mark is its clear background. To make it larger too, see Upscale and remove the background.
For a vector, add a Code node, set what it makes to SVG illustration, wire the crop into it and ask for the mark as an SVG: see Code generation.
The steps it runs
| Step | What it makes | Model and settings | Reads |
|---|---|---|---|
| Geometric marks | Six to nine marks built from one solid | Nano Banana 2.1, 3:2, 2K | Direction 1, Brief.md, skill, your pictures |
| Symbol marks | Six to nine abstract symbols | Nano Banana 2.1, 3:2, 2K | Direction 2, Brief.md, skill, your pictures |
| Wordmarks | The name in custom lettering, with a small mark | Nano Banana 2.1, 3:2, 2K | Direction 3, Brief.md, skill, your pictures |
| Brand board | The mark, lockup, app icon, palette, type and the mark in use | Nano Banana 2.1, 16:9, 2K | The three sheets, Brief.md, skill, Mood reference, Chosen mark |
| Brand guide | A web page: logo, clear space, colours, type, voice, do's and don'ts | Claude Sonnet 5.5, Brand guide | Brand board, Brief.md |
The sheets come first, then the board, then the page.
Make it yours
- Change the directions: the three prompt nodes, Direction 1 · Geometric mark, Direction 2 · Symbol and Direction 3 · Wordmark, each hold one idea to explore. Rewrite one (a monogram, a seal, a letter in a shape) and run its sheet again.
- Choose the mark yourself: crop the mark you like from a sheet (see Crop an image), drop it into Chosen mark, then run Brand board again and Brand guide after it.
- More takes: once a sheet is made, its Add button makes another take in the same node; click the one you want to use.
- Another model: each node's model menu switches it. Ideogram 4.5 is strong at lettering if the wordmarks come out wrong; see Image generation for what each model is good at.
- The skill: logo-explorations SKILL.md holds the rules every sheet and the board follow: the grid, flat shapes, three colours at most, and what to avoid. Edit it and every node wired to it follows. See Prompts, documents and skills.
This workflow has no style picker and no wide or tall choice: the sheets stay 3:2 and the board 16:9. Change a node's aspect ratio chip if you need another shape.
Logo and brand guide time and cost
A full run takes about 4 minutes and about 35–110 credits, as the workflow's page rounds it; the Ready step shows the most it can cost, 33–106:
| Step | Credits |
|---|---|
| Each of the three sheets | 7–14 |
| Brand board | 7–14 |
| Brand guide | 5–50 |
On Nano Banana 2.1 one 2K picture costs 7 credits. The top of each picture step's range allows for one mend or one more take, if Claude's check finds a mark that breaks the brief. The brand guide is charged for what it uses, up to 50. The workflow's page reads a credit or two higher for the board (8–16), since it allows for your own pictures as references.
Tips
- Spell the name in your idea exactly as it should look: "Fil" stays "Fil" in the brief. Wordmarks set it lowercase unless the brief says otherwise.
- Give your colours as hex codes, in your answer or in Brief.md: the board and the guide show them as swatches.
- Leave Current logo or sketch empty for new ideas. With a logo in it, every sheet becomes treatments of that logo.
- If no mark on a sheet is right, change its direction's prompt and press Add on the sheet before you make the board.
- Only need the marks? On the Ready step, untick Brand board (the guide goes with it) and save up to 64 credits.
Related
- Business card: put the new logo on print-ready cards.
- Packaging design: the mark and palette on a pack and its range.
- Upscale and remove the background: larger, cleaner logo files from a crop.
- Publish a website: the guide's address, a password and updates.
- How workflows work: the gallery, the start card and the run in the chat in detail.