What is Fil
Fil is an AI creative studio on a canvas. Generate images, video, 3D models, code, sound and websites with leading models, then edit, share and publish them.
Fil is a creative studio built around a canvas. You write a prompt, pick a model, and what it makes lands on the canvas as a node you can keep building on: a picture becomes a video, a 3D model or a web page, and every step stays wired to the one before. The leading models for each kind of work are in one place, paid for with one balance of credits.
What you can make with Fil
| You make | Models | Where |
|---|---|---|
| Pictures | 13, such as Nano Banana 2.1 | Image view or node |
| Video clips | 15, such as Kling 3.0 | Video view or node |
| 3D models | 4, from Tripo and Meshy | 3D view or node |
| Pages, apps, slides | 11, such as Claude Opus 5.5 | Code view or node |
| Voice, sound, music | 9, such as ElevenLabs v4 | Audio node |
Then you shape what you made:
- Edit pictures: inpaint, outpaint, crop, change the camera angle, cut out the background or split a picture into layers. See Image editing.
- Cut videos in the video editor: clips, pictures, words and music on a timeline, exported as an MP4. See The video editor.
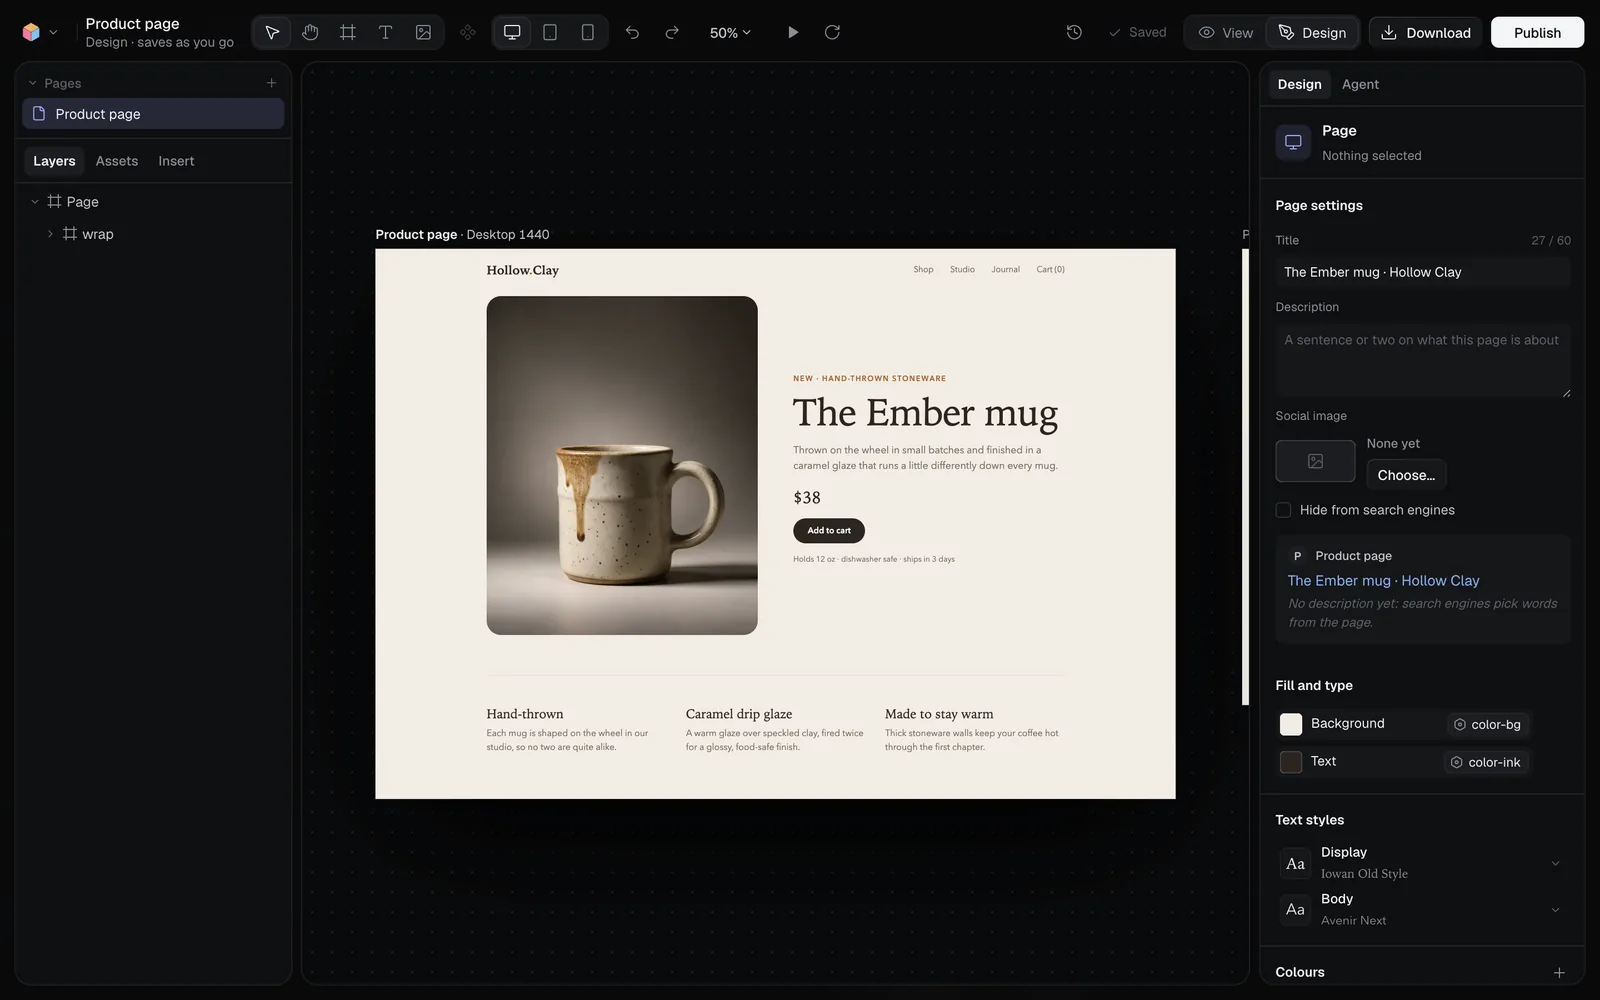
- Design pages in the Design tab, a Figma-like editor for what Code makes, with design systems, components and an agent that edits for you. See The Design tab.
- Build websites: a site with several pages, a single HTML page or a React app, published on the web. See Websites in Fil.
How Fil works
A canvas holds nodes, joined by links:
- Words and files: a Prompt node holds what you'd type; a document holds a brief; a skill holds instructions for how to make something; a file node holds a picture, clip or model you dropped in.
- Generation nodes (Image, Video, 3D, Code and Audio) run a model on whatever is wired into them.
- Links carry one node's words or results into the next, so a picture can be a video's first frame, a 3D model's source or a page's hero.
Pressing Generate starts a run. Its price shows on the button before you press it, in credits, worked out from what the model's maker charges. Runs carry on if you close the tab, and everything they make is kept on its node and in your Library.
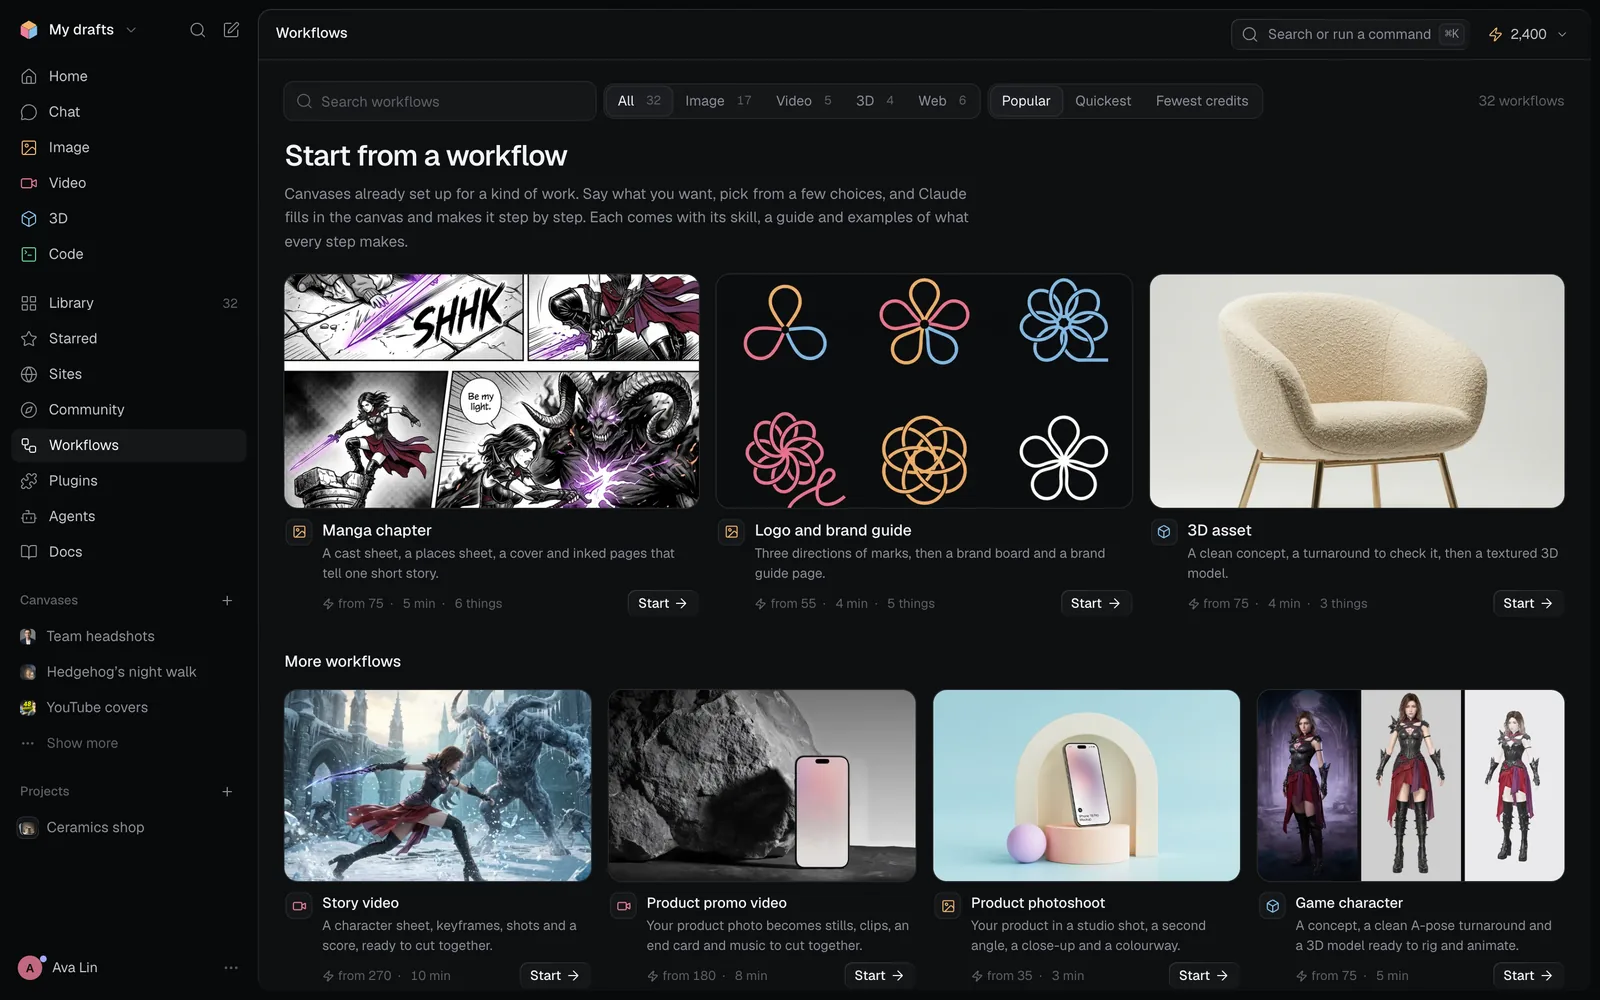
You don't have to build the canvas by hand. Ask Claude in Chat and it plans the nodes for you, start from one of 32 workflows, or add a template to a canvas.
The main places in the studio
The sidebar on the left gets you everywhere. The sidebar and menus goes through every row and menu.
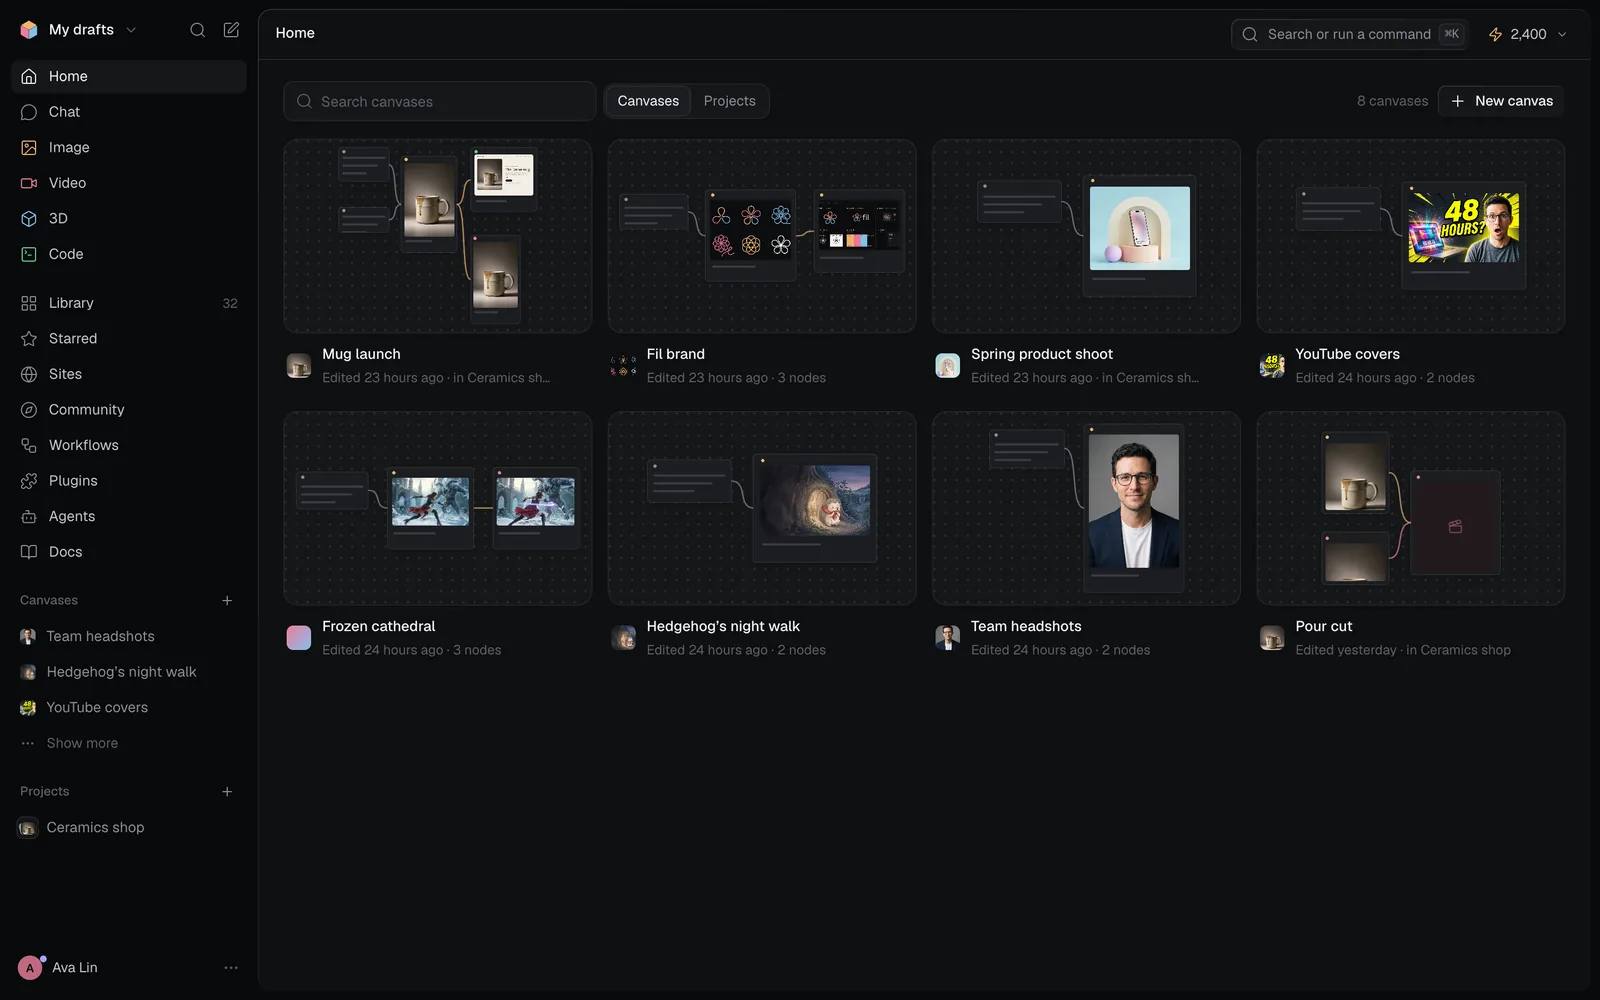
| Place | What it's for |
|---|---|
| Home | Every canvas in the workspace, and its projects |
| Chat | Ask Claude, plan and make; each chat gets a canvas |
| Image, Video, 3D, Code | One prompt box and a feed: the quickest way to one result |
| Library, Starred | Every file you've made or added, and your favourites |
| Sites | Every website, app and social post you've made |
| Community | Public work from everyone, to browse and reuse |
| Workflows | Ready-made canvases that do a whole job |
| Plugins | Connect X, LinkedIn, Threads, YouTube and Vimeo |
| Agents | Let Claude Code, Codex or Cursor work on your canvases |
| Docs | These guides, inside the studio |
Press ⌘K anywhere to search your canvases, files, commands and these Docs.
Start from a workflow
A workflow is a canvas already set up for one kind of work: a manga chapter, a logo and brand guide, a 3D asset, a product photoshoot, a story video, a website with a CMS and more. You say what you want, pick from a few choices, and Claude fills in the canvas and makes it step by step. Each comes with a guide and examples of what every step makes.
Design and publish websites
Code nodes write real pages. Open one in the Design tab to change its text, pictures, layout and styles by hand or by asking the agent, and check it at desktop, tablet and phone sizes. Then publish it on the web, at an address you choose on Starter, Pro or Max, or send it to GitHub.
Share, publish and work with others
- Share a canvas with anyone by email, to view or to edit, and work on it together live, with comments. Teams on Pro and Max share one library and pool of credits. See Sharing and teams.
- Post to X, LinkedIn, Threads, YouTube and Vimeo from Fil once you connect them in Plugins; Social posts covers writing them.
- Community shows public work with its prompt. On the Free plan, what you make is public there; on paid plans it starts private. See Community.
- Agents such as Claude Code and Codex can build on your canvases over MCP, with your credits. See Connect an agent.
Plans and credits
Every account gets every model. The Free plan gives you credits through a daily check-in (100 a day, 200 every third day in a row, up to 1,000 a month), up to 3 canvases, and public work. Starter, Pro and Max add credits every month, private work, more storage and, on Pro and Max, teams. See Credits and plans.
Find your way around the Docs
- To make something: images, video, 3D, code and sound, or let Chat plan it.
- To work on a canvas: canvas basics, then prompts, documents and skills and templates.
- To get a whole job done: workflows, with a page for each one.
- To edit and publish: the video editor, the Design tab and publishing a website.
- To share and connect: sharing and teams, social posts and agents.
- For your account: credits and plans and profile and settings.
What's next
- Quickstart: sign in and make your first picture and video in five minutes.
- The sidebar and menus: every place and menu in the studio.
- Image generation: every image model, setting and price.
- Workflows: pick one and let Claude do the whole job with you.