Business card
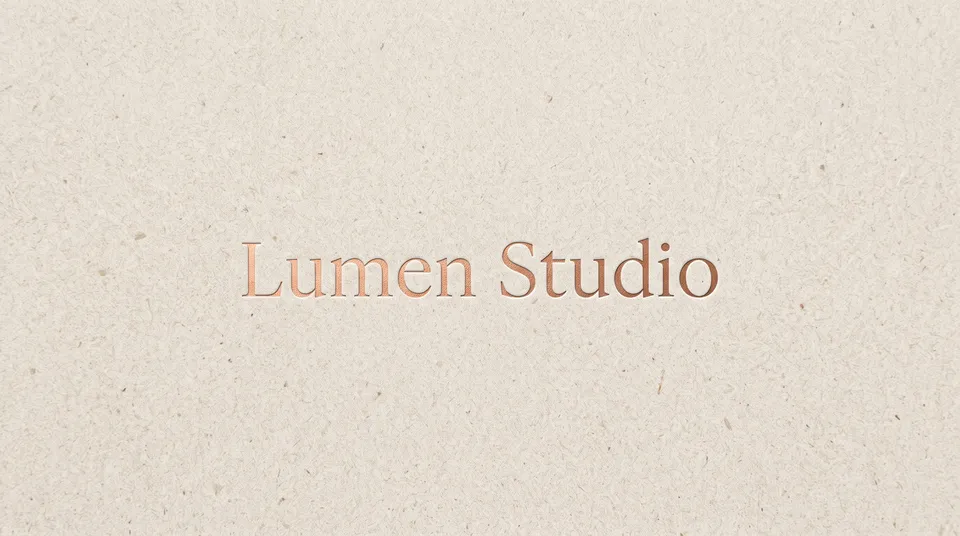
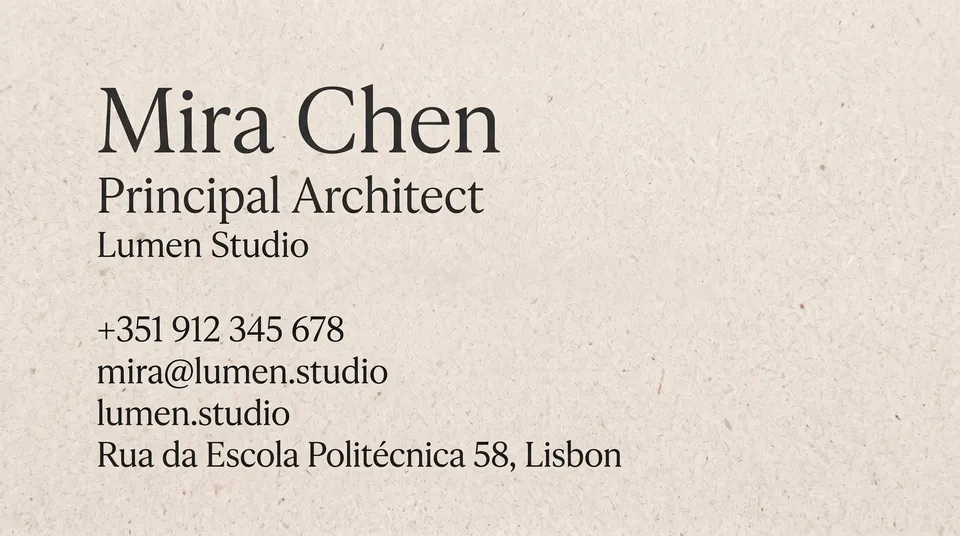
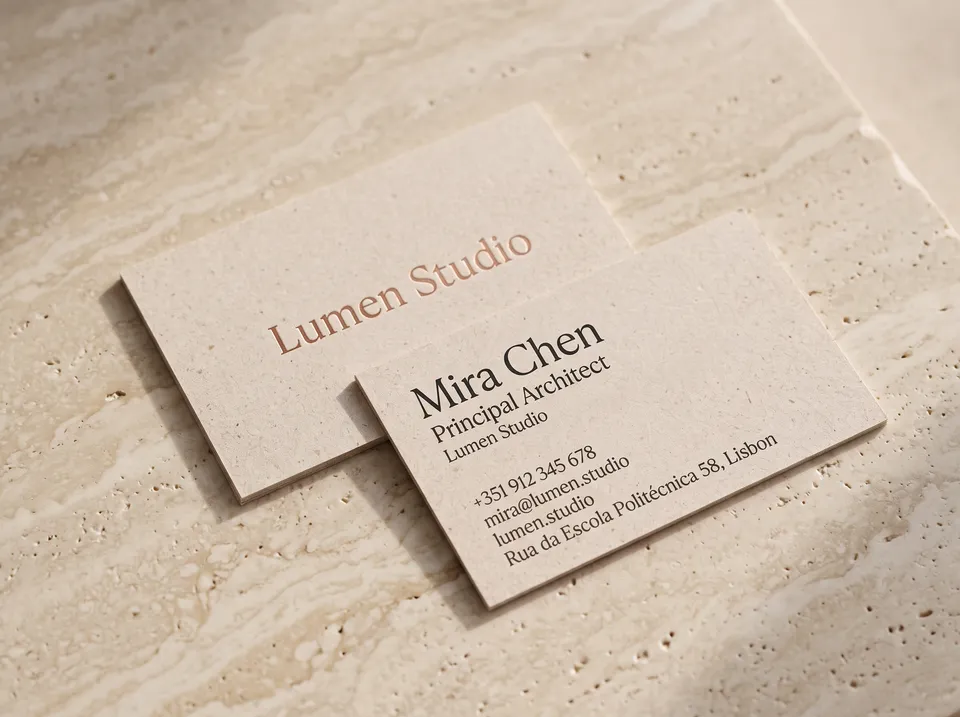
Both sides of your card as print-ready artwork, and the printed cards on a desk.
Put your details in Card.md once. The front carries your brand, the back your name and details spelled exactly, and the last picture shows both as printed cards so you can judge them before you print.
Start this workflowWhat it makes
3 things in 3 steps. Every example here was made in Fil with this workflow.
How it starts
- Say what you want“Cards for Mira Chen, principal architect at Lumen Studio in Lisbon: calm, minimal, warm stone colours”, or a picture. Nothing to upload first.
- Pick from a few choicesClaude asks about the look, the paper and the finish, and tells you if a file is missing.
- Generate allFront first, then each next step as soon as what it needs is ready.
What you put in
- LogoYour logo, ideally a PNG or SVG.Optional
- Card.mdYour name, role, details, the look and the paper. Claude fills it in from your answers, or you can.Brief
Nothing has to be uploaded to start: the canvas opens with a place for each file, ready when you are.
How it runs
Generate all runs it left to right: each step starts as soon as what feeds it is ready, and you see the whole price first. Or run any step yourself.
Step by step on the canvas
- Generate Front and check it.
- Generate Back: it follows the front, and check every detail is spelled right.
- Generate Printed cards to see them for real.
Skill
The craft every step follows, written out. It comes with the workflow, and you can change it on the canvas.
Read the skill
Business cards
Read first
Card.md for the name, the role, the company, the details, the look and the paper; the logo wired in.
Artwork (16:9, both sides)
- Each side is the card itself, filling the whole picture edge to edge, flat and straight on: no table, shadow, perspective or mockup.
- Everything at least 6% in from every edge, where the card is trimmed.
- Front, the brand side: the logo or the company's name with lots of space around it, and at most one short line (the tagline).
- Back, the person: their name largest, the role under it, then the details in Card.md's order, aligned to one edge on a clear grid.
- Every word, number and address exactly as Card.md spells it, letter for letter. A detail Card.md marks as none is left off; nothing is added: no placeholder text, icons with made-up details, or QR code unless Card.md asks.
- Set at real card size: the details at about 7–8 pt and the name at about 11 pt (small next to the card, with wide margins), one typeface family in a light or book weight, and a hairline rule or a fine detail that gives it craft.
- A considered grid, not a stacked list: the name and role in one block, the details in another, aligned to a margin, with plenty of air.
- The look from Card.md: one or two colours on the paper's colour, and at most one finish (a foil, a spot colour, letterpress) on the front.
- With a logo wired in, use it exactly, never redrawn. Without one, set the company's name in clean type; never invent a symbol.
Printed cards (4:3)
The two wired sides as real printed cards on the surface Card.md names, in soft daylight: one showing the front and one the back, slightly overlapping, the paper's thickness and texture visible, the type sharp and exactly as designed.
Avoid
Misspelled names or details, text near the trimmed edge, more than two typefaces, clip-art, gradients that won't print, made-up details, and two sides that look like different brands.
Wired into 3 steps on the canvas, where you can change it.
More workflows
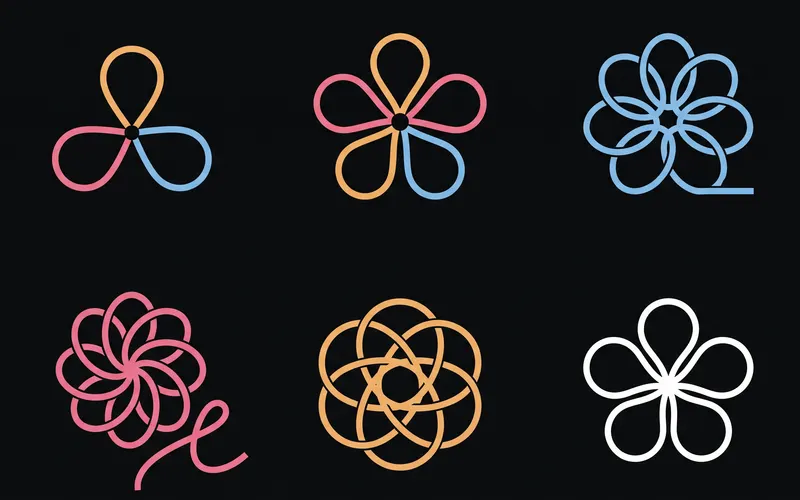 Logo and brand guideThree directions of marks, then a brand board and a brand guide page.About 4 minutes
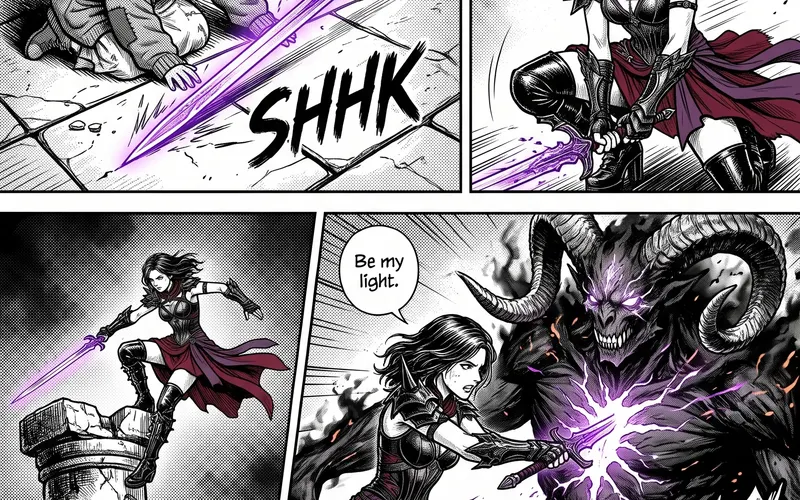 Manga chapterA cast sheet, a places sheet, a cover and inked pages that tell one short story.About 5 minutes
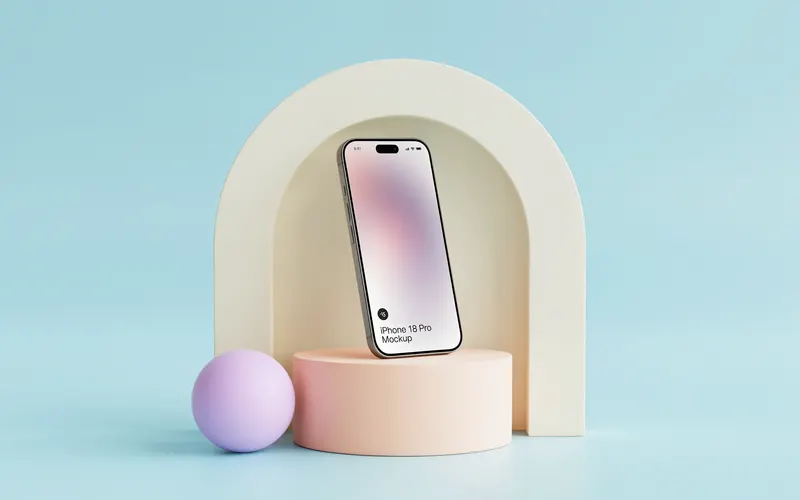 Product photoshootYour product in a studio shot, a second angle, a close-up and a colourway.About 3 minutes