T-shirt design
A front and a back print ready for screen printing, and the shirt wearing them.
Describe the shirt once in Tee.md. The front and back prints come out as flat artwork in a few ink colours, ready for a printer, and two photos show them on the shirt, front and back.
Start this workflowWhat it makes
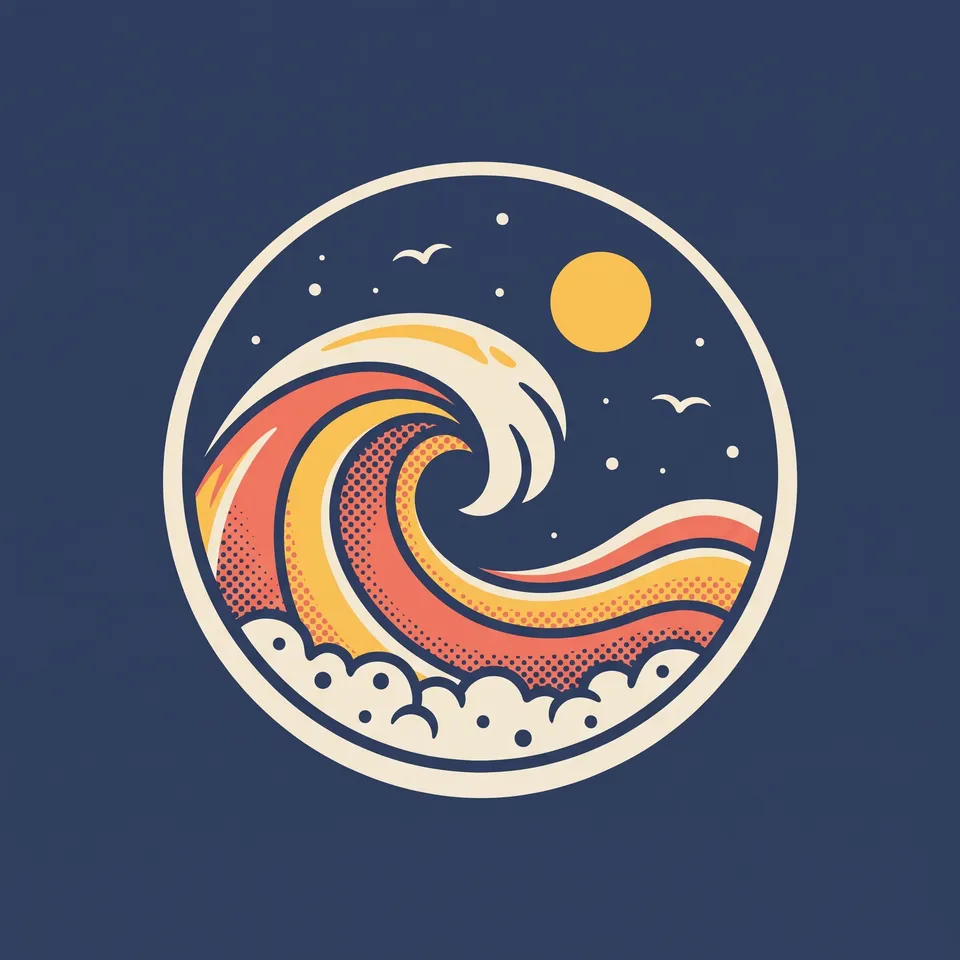
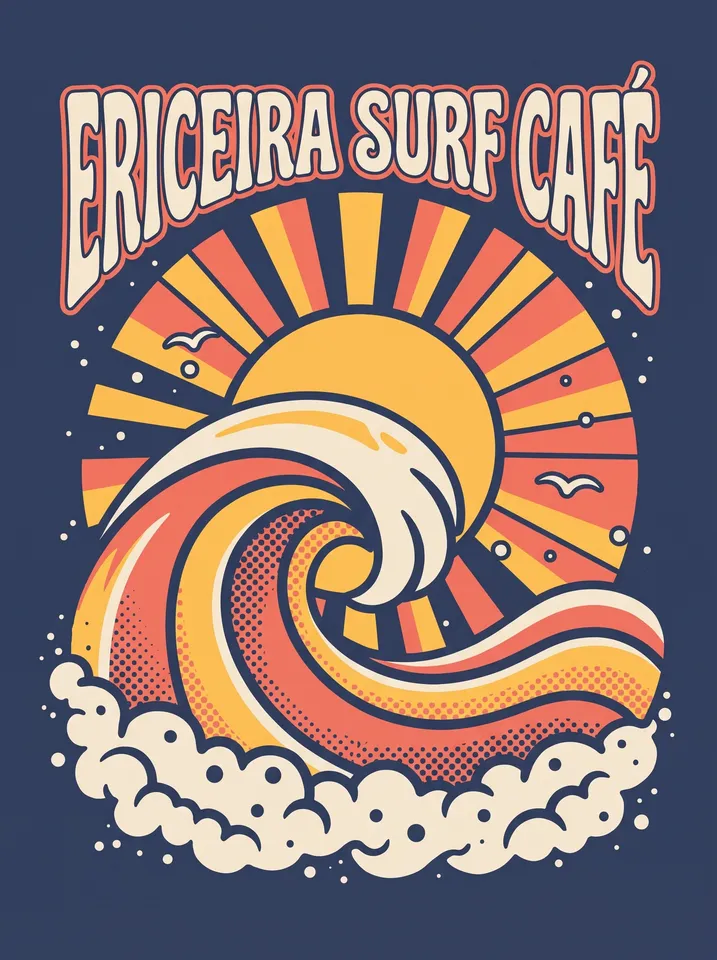
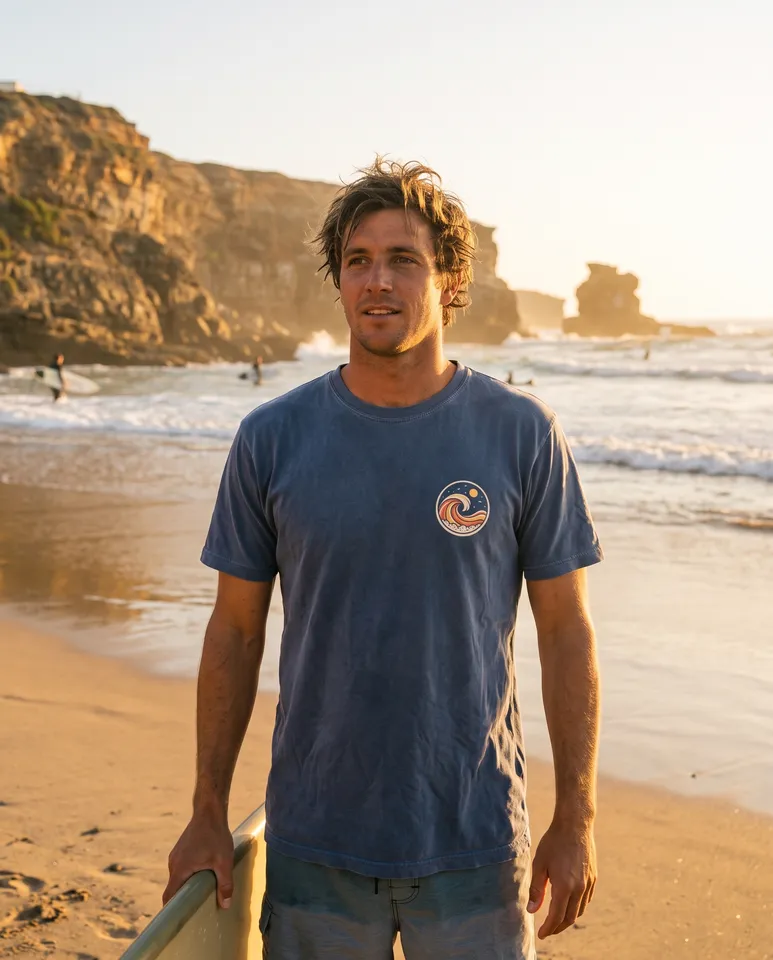
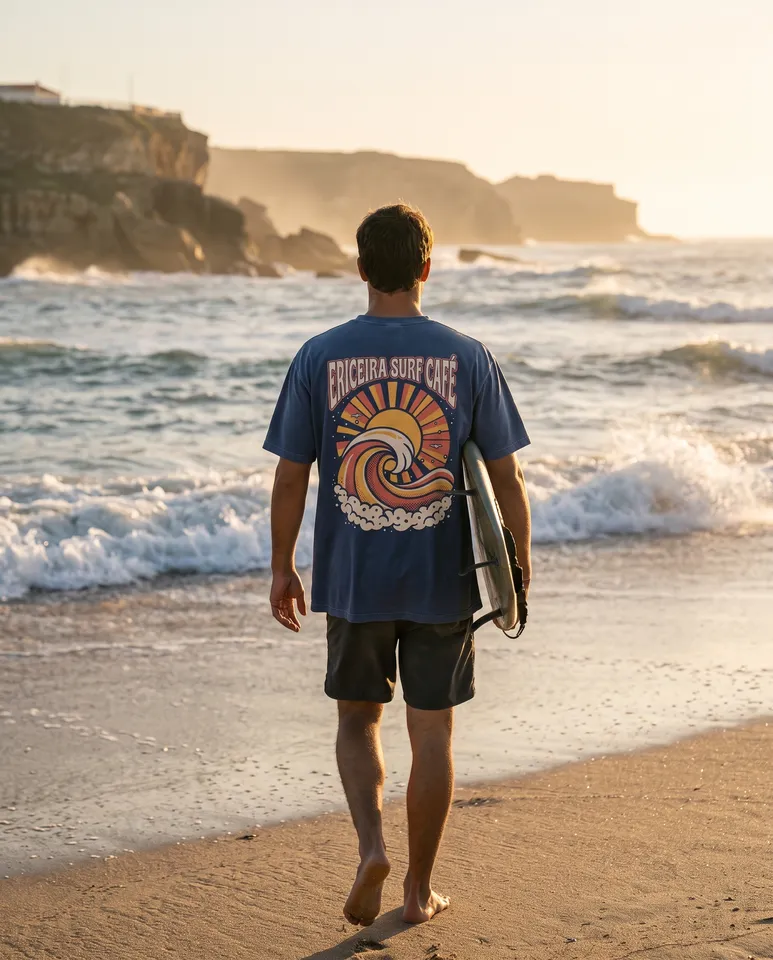
4 things in 3 steps. Every example here was made in Fil with this workflow.
How it starts
- Say what you want“A tee for our surf café in Ericeira: a small wave on the front, a big retro sun and wave on the back”, or a picture. Nothing to upload first.
- Pick from a few choicesClaude asks about what the prints show, the words, the shirt colour and the inks, and tells you if a file is missing.
- Generate allFront print first, then each next step as soon as what it needs is ready.
What you put in
- LogoYour logo, if the prints should use it.Optional
- Style referenceA picture whose style the prints follow.Optional
- Or start from one of these styles, picked for this workflow:
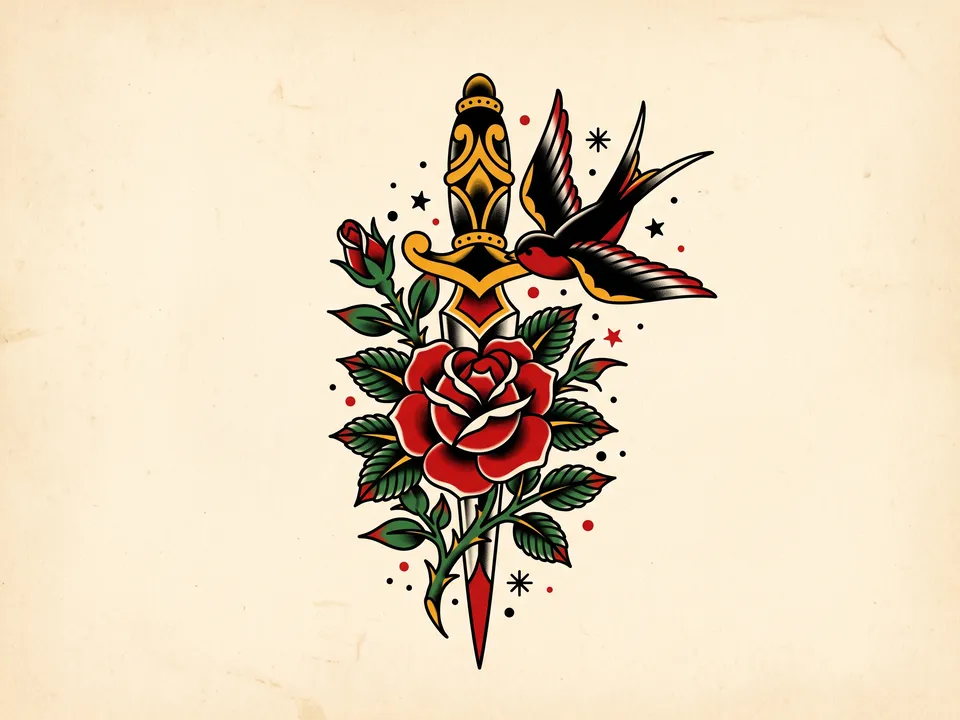 Tattoo flash
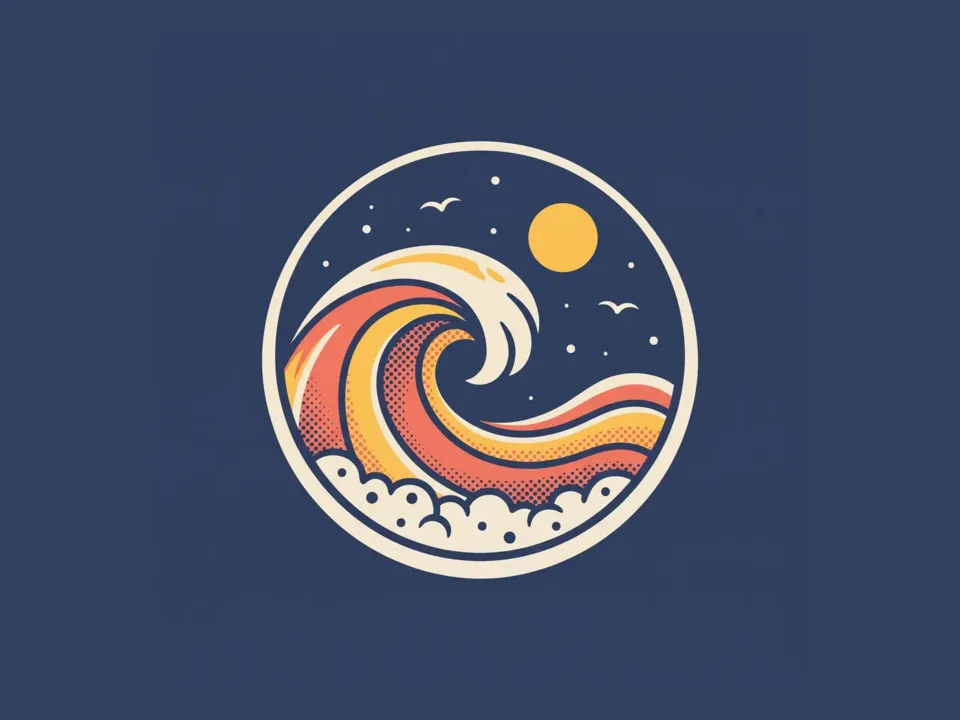 Retro badge
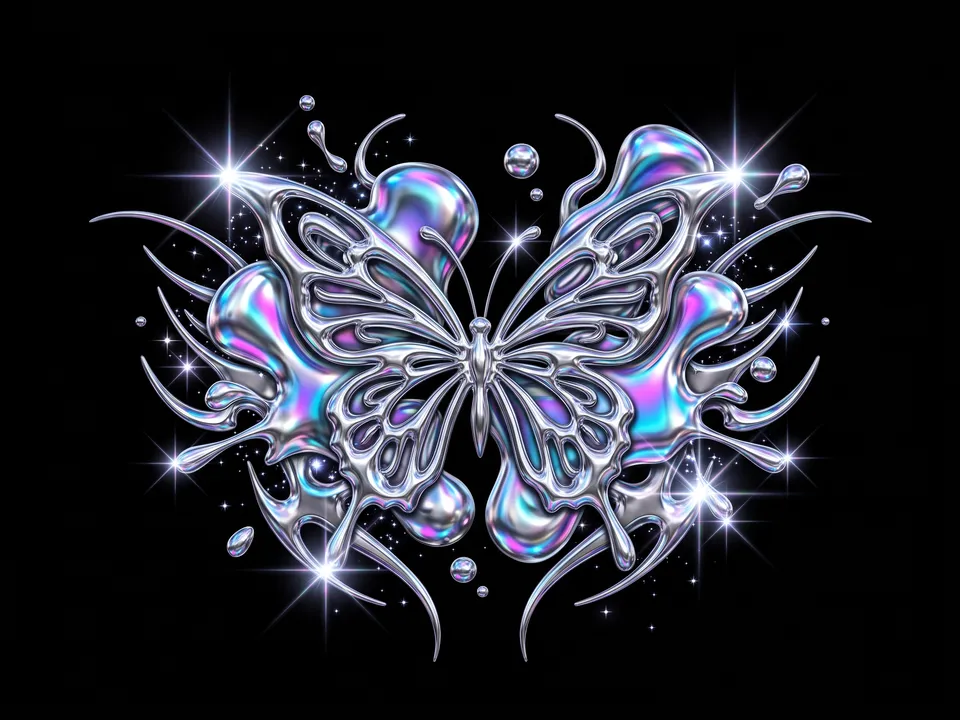 Y2K chrome
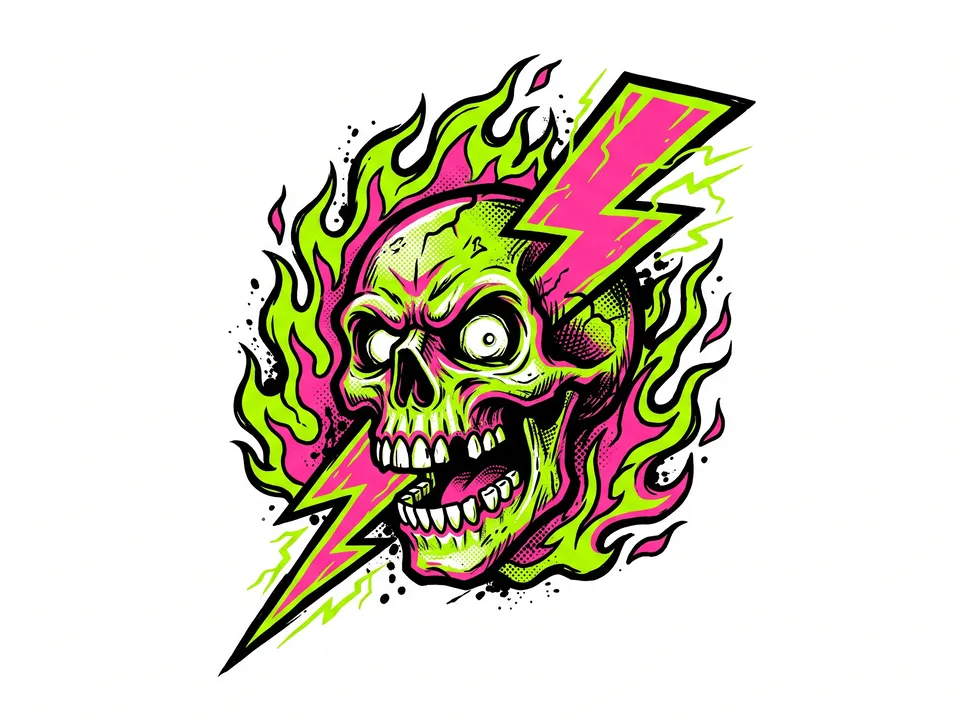 Skate graphic
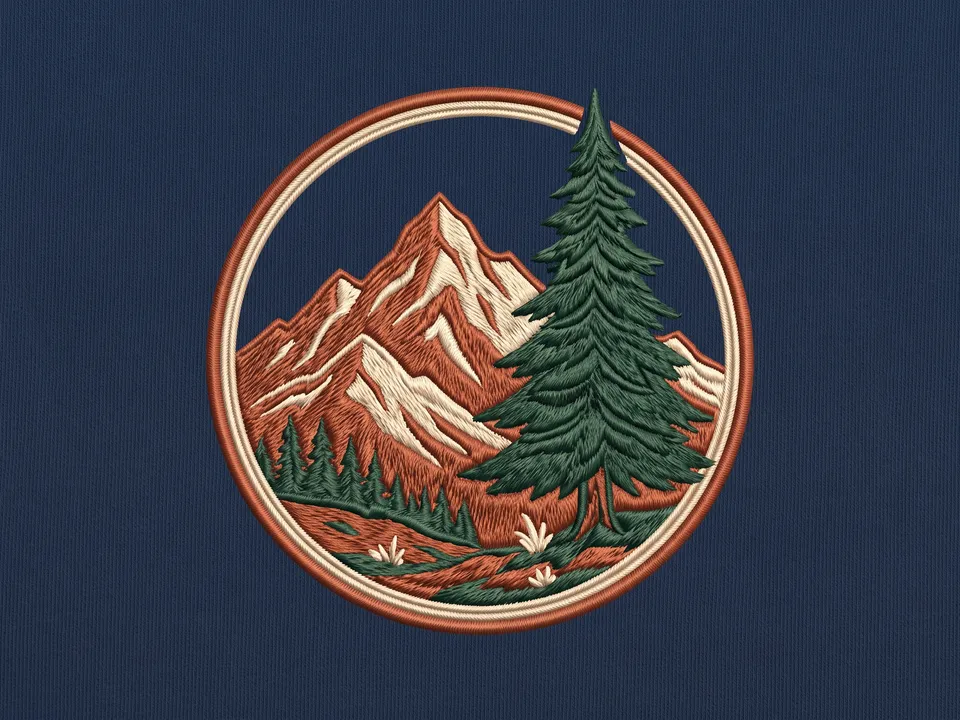 Embroidered
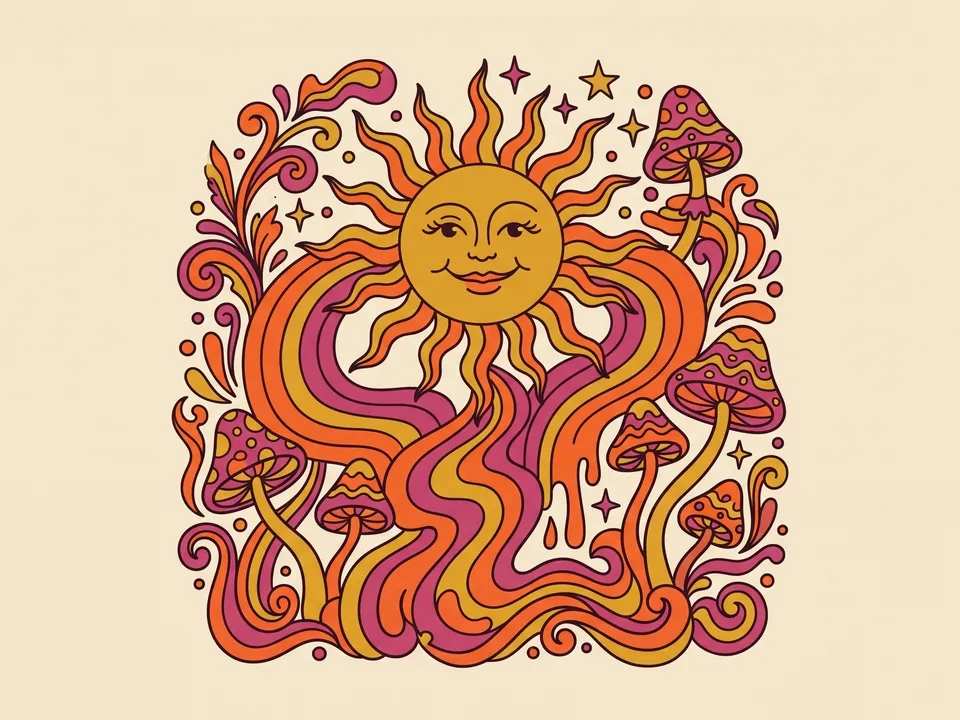 Psychedelic
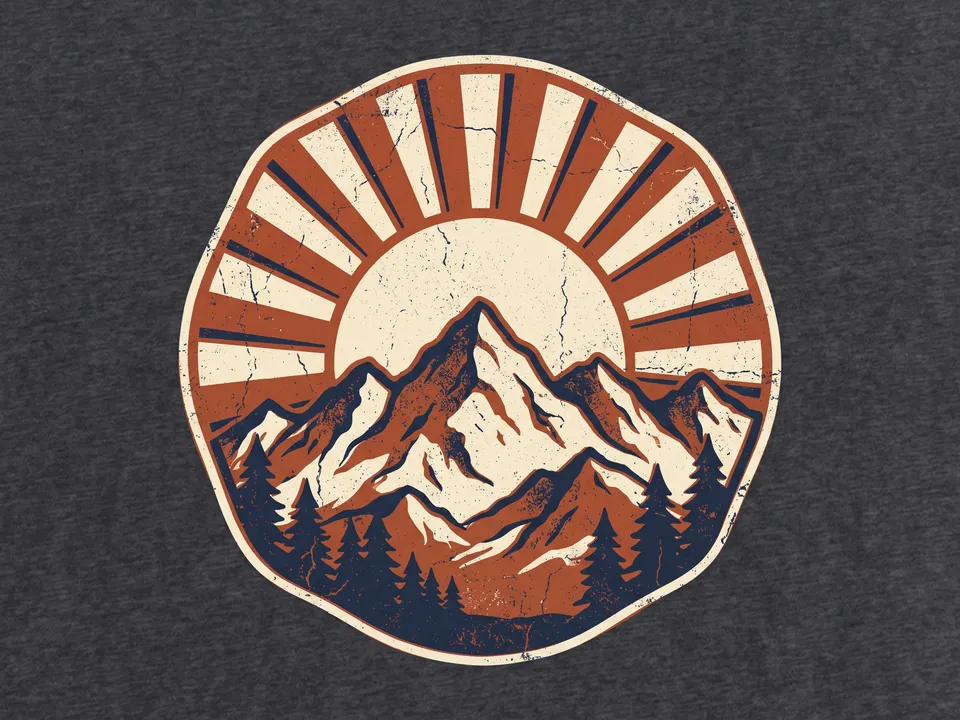 Worn screen print
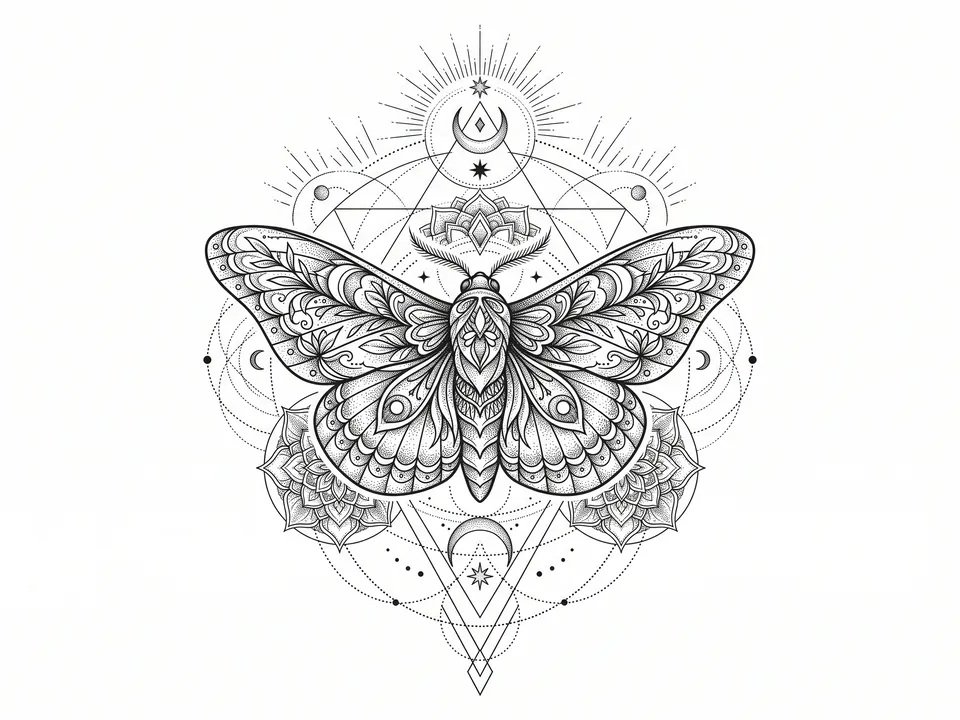 Blackwork
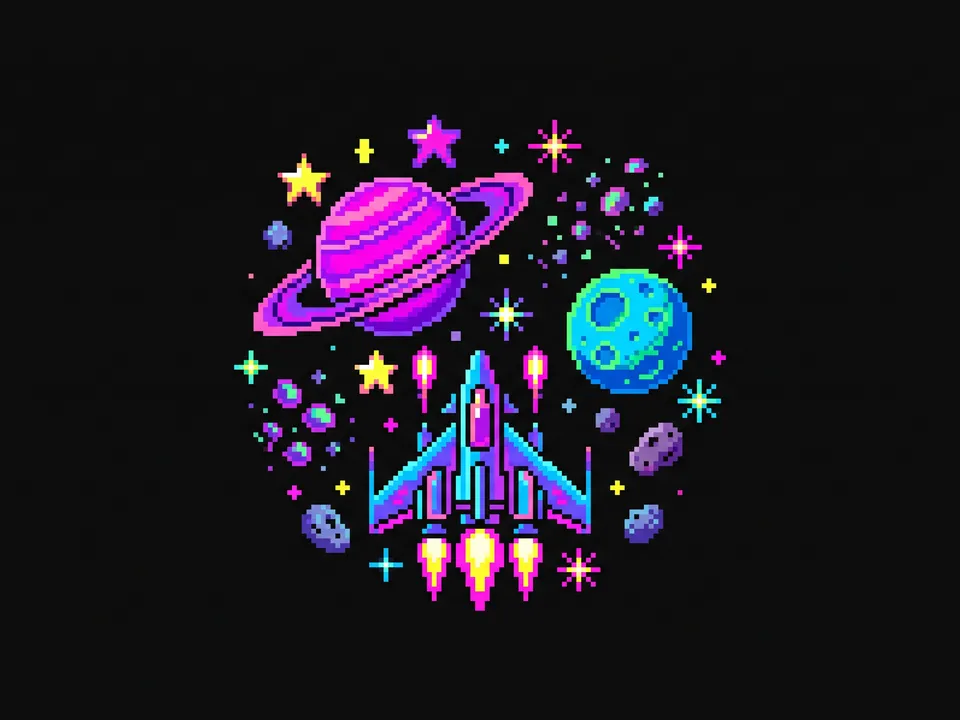 Pixel print
- Tee.mdThe idea, the words, the front, the back, the shirt and the inks. Claude fills it in from your answers, or you can.Brief
Nothing has to be uploaded to start: the canvas opens with a place for each file, ready when you are.
How it runs
Generate all runs it left to right: each step starts as soon as what feeds it is ready, and you see the whole price first. Or run any step yourself.
Step by step on the canvas
- Generate Front print and check the words and inks.
- Generate Back print: it follows the front.
- Generate Front on shirt and Back on shirt to see them worn.
Skill
The craft every step follows, written out. It comes with the workflow, and you can change it on the canvas.
Read the skill
T-shirt prints
Read first
Tee.md for the brand, the idea, the words, the shirt colour, the inks and how it's shown; the logo and any style reference wired in.
Print artwork (front 1:1, back 3:4)
- Flat artwork for screen printing, centred on a plain background in the shirt's colour, with nothing else in the picture: no shirt, hanger, mockup or shadow.
- At most four ink colours, from Tee.md, solid and flat; shading as halftone dots or hatching in those inks, never soft gradients or photo detail.
- A bold silhouette that reads from three metres away, with clean edges and no hairlines.
- Words exactly as Tee.md spells them, lettered as part of the design (arched, stacked, in a badge), never a plain font laid on top.
- Front: the chest print Tee.md asks for (a small left-chest mark, or a centred chest graphic). Back: the big statement, the one people see walking away.
- Only what Tee.md describes: no extra stars, birds or sparkles. Halftone dots no finer than a print can hold at the print's real size, and lettering on a true, even arc when it arches.
- Front and back clearly one design: the same inks, line and lettering.
- On a dark shirt the light inks carry the design; on a light shirt the dark inks do.
On the shirt (4:5)
- A real heavyweight cotton tee in the shirt colour, worn by a person in natural light or laid flat on a simple surface, as Tee.md says.
- The wired print exactly as designed, at its real size and place, following the fabric's folds and showing its texture, never floating on top.
- The front shown from the front; the back from behind, the back print facing the camera, worn by the same person as the front shot. Nothing (a board, a bag, an arm) crosses the print.
Avoid
Gradients, glows and photo detail in a print, more inks than Tee.md allows, misspelled words, tiny text, artwork boxed in a rectangle, and warped or stretched prints on the shirt.
Wired into 4 steps on the canvas, where you can change it.
More workflows
 Logo and brand guideThree directions of marks, then a brand board and a brand guide page.About 4 minutes
 Manga chapterA cast sheet, a places sheet, a cover and inked pages that tell one short story.About 5 minutes
 Product photoshootYour product in a studio shot, a second angle, a close-up and a colourway.About 3 minutes