Reel planner
A 30-second Reel planned scene by scene: pictures, what to say, a voiceover and a storyboard.
Say what the Reel is about. Claude writes six five-second scenes in Reel.md, each with the line to say and the words on screen; each scene gets its picture in one look, the voiceover reads the lines, and the storyboard puts it all on one page to shoot or edit from.
Start this workflowWhat it makes



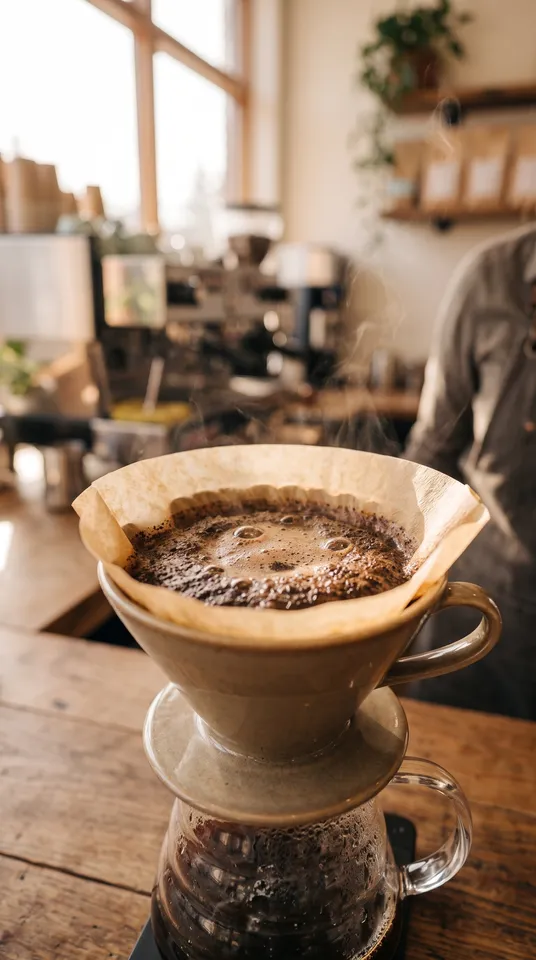


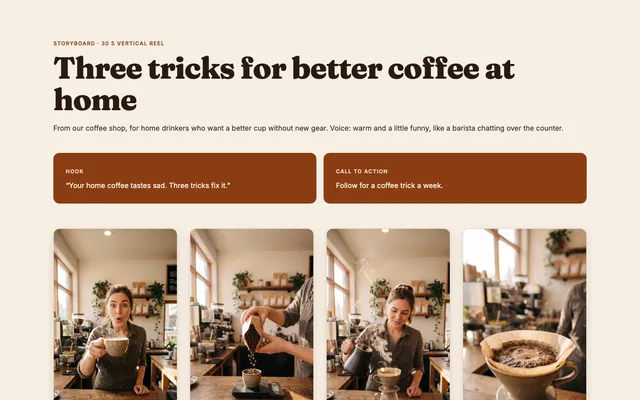
Also makesVoiceoverHook clip
9 things in 3 steps. Every example here was made in Fil with this workflow.
How it starts
- Say what you want“A 30-second Reel for our coffee shop: three tricks for better coffee at home”, or a picture. Nothing to upload first.
- Pick from a few choicesClaude asks about who’s on camera, the voice and the look, and tells you if a file is missing.
- Generate allScene 1 and Voiceover first, then each next step as soon as what it needs is ready.
What you put in
- PresenterA photo of who’s on camera, if it’s you or someone real.Optional
- Style referenceA picture whose look the scenes follow.Optional
- Or start from one of these styles, picked for this workflow:
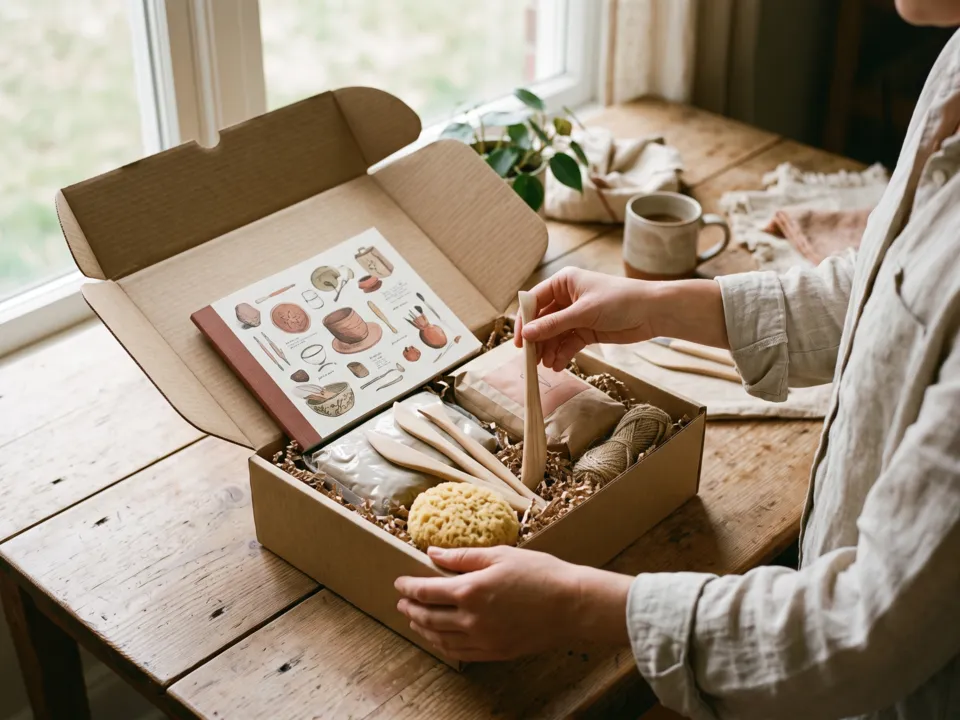 Natural light
 Neon night
 35mm film
 Pastel dream
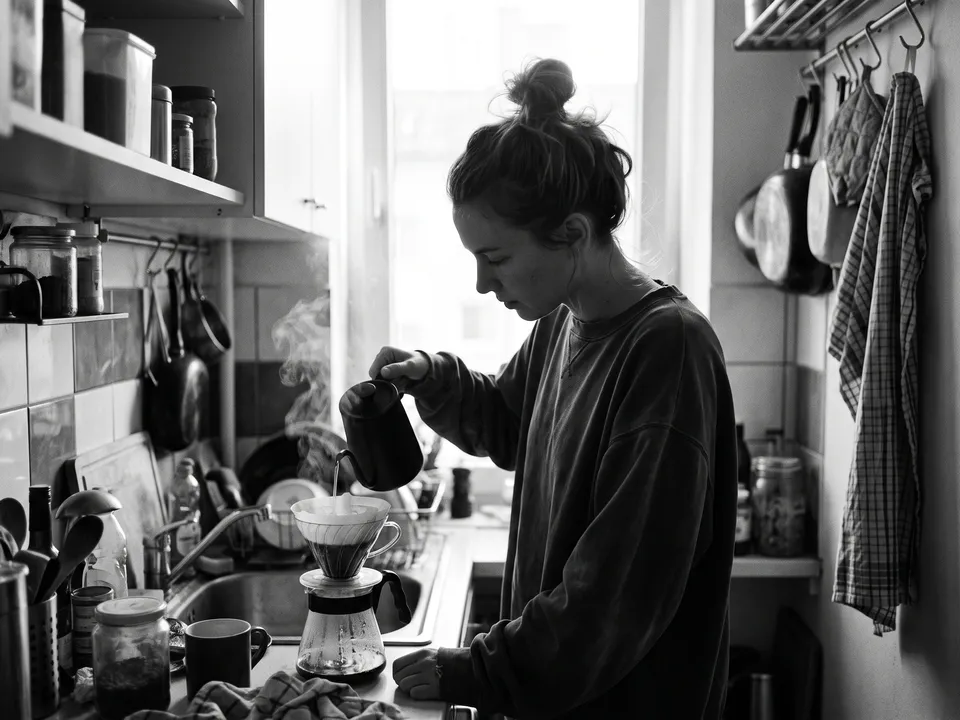 Black and white
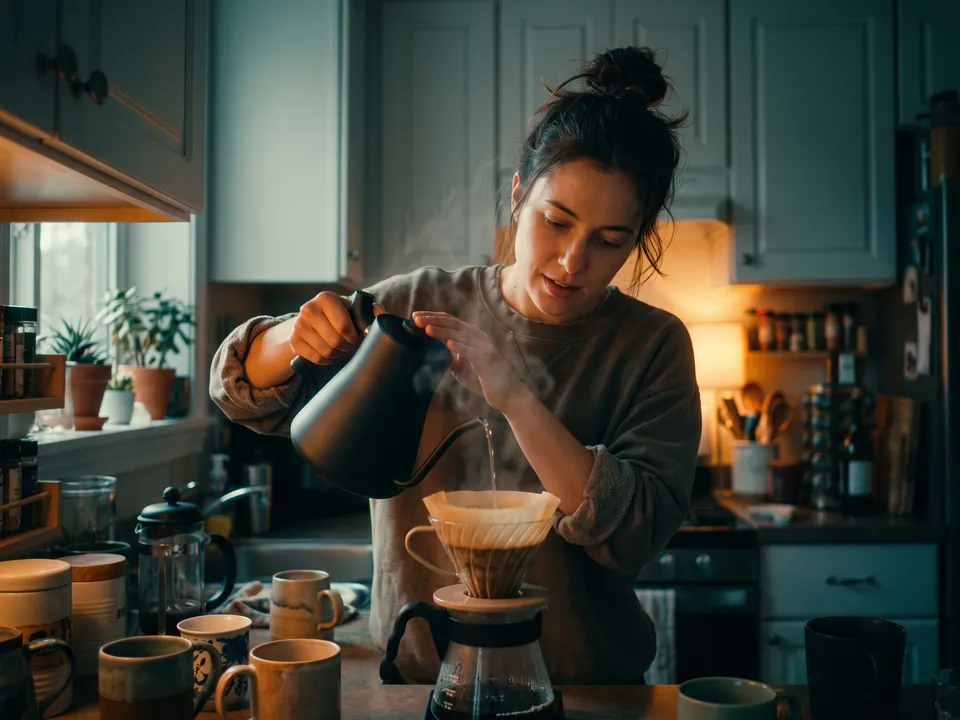 Teal and orange
 Direct flash
 Golden hour
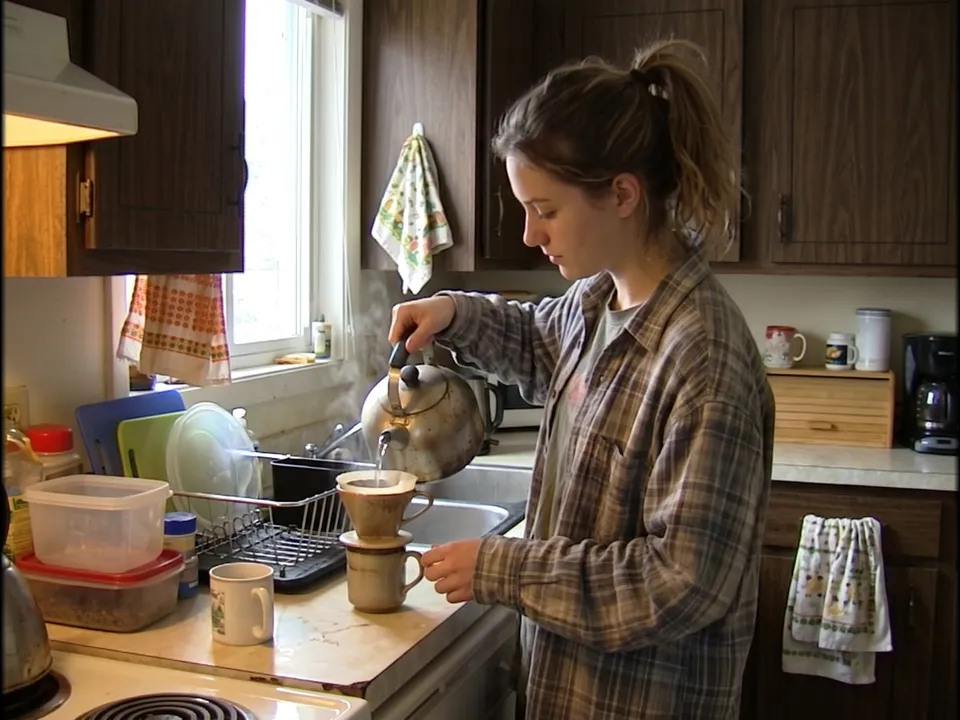 Camcorder
- Reel.mdThe topic, the voice, the look and each scene. Claude fills it in from your answers, or you can.Brief
Nothing has to be uploaded to start: the canvas opens with a place for each file, ready when you are.
How it runs
Generate all runs it left to right: each step starts as soon as what feeds it is ready, and you see the whole price first. Hook clip waits, unticked: check the scenes first, then turn the hook into a moving shot. Or run any step yourself.
Step by step on the canvas
- Generate Scene 1: it sets the presenter and the look.
- Generate Scene 2 to Scene 6, which follow Scene 1, and Voiceover.
- Generate Storyboard to see the whole Reel on one page. Hook clip turns Scene 1 into a moving shot when you’re happy with it.
Skill
The craft every step follows, written out. It comes with the workflow, and you can change it on the canvas.
Read the skill
Reel planner
Read first
Reel.md for the topic, who it's for, the voice, the look and every scene's picture, line and on-screen words; the presenter's photo and any style reference wired in.
The script
- 30 seconds in six scenes of about five seconds: the hook (scene 1), four that deliver, and the payoff with the call to action (scene 6).
- The hook says the promise or the surprise in the first two seconds: no greeting, no introduction.
- Each scene's line is what's said aloud in it: at most 14 words, plain, in Reel.md's voice.
- On-screen words: at most five per scene, doing a different job from the line (the number, the key word), never the line repeated.
Scene pictures (9:16)
- Each scene shows what its line says and how it feels at that moment (a flat, disappointed sip for "tastes flat", the happy result only at the payoff), and the last scene shows the brand's own cup, bag or sign when Reel.md names one.
- One per scene: the first frame of its shot, filling a phone screen, the subject in the middle, clear of the top tenth and the bottom fifth where the app's buttons and captions sit.
- One look across all six (Reel.md's, set by the wired Scene 1): the same presenter, place, light, colour grade and props (Reel.md's, one of each, the same dripper or cup in every scene), with each scene's own Shot from Reel.md: never the same framing as the scene before, and the wide shot truly wide.
- The presenter from the wired photo, kept exactly, when there is one; otherwise the same person in every scene, as Reel.md describes them.
- No words in the pictures: on-screen text goes on in the edit.
Hook clip
Starts on Scene 1's picture and plays the hook's action as one five-second take, with the room's sound and no words on screen: captions and on-screen text go on in the edit.
Storyboard
One page to shoot and edit from: the hook and the call to action at the top, then the six scenes as cards in order, each with its picture at 9:16, its time (0–5 s, 5–10 s…), the line to say, the on-screen words and the shot (framing and camera move), each label on its own line apart from its text, three to a row on a wide screen so six make two full rows. It prints on A4 and reads on a phone.
Avoid
A slow start, lines too long to say in five seconds, on-screen words that repeat the line, a presenter who changes between scenes, the same framing twice in a row, and text in the pictures.
Wired into 7 steps on the canvas, where you can change it.
More workflows
 Story videoA character sheet, keyframes, shots and a score, ready to cut together.About 10 minutes
 Product promo videoYour product photo becomes stills, clips, an end card and music to cut together.About 8 minutes
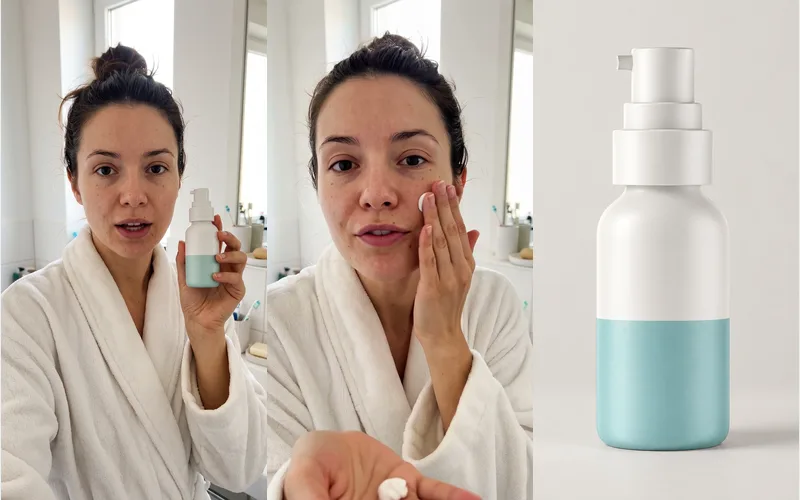 UGC video adA creator with your product, talking to the camera like a real review: a hook, a demo and a verdict.About 8 minutes