Character gear
A gear set drawn once and fitted to three body types, each a 3D model ready to animate.
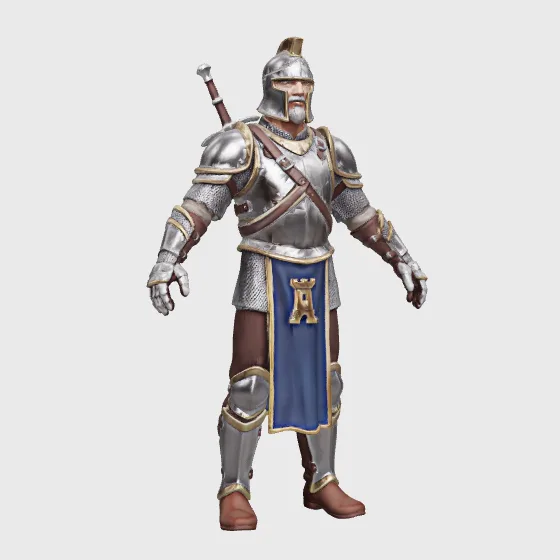
Design a gear set once and see it fitted to every build. The base body and the gear sheet come first, then the character puts the gear on, and the same set is refitted to two more body types. Each turnaround becomes a rigged 3D model made wearing its gear, so the gear sits on the body and moves with it when you animate.
Start this workflowWhat it makes
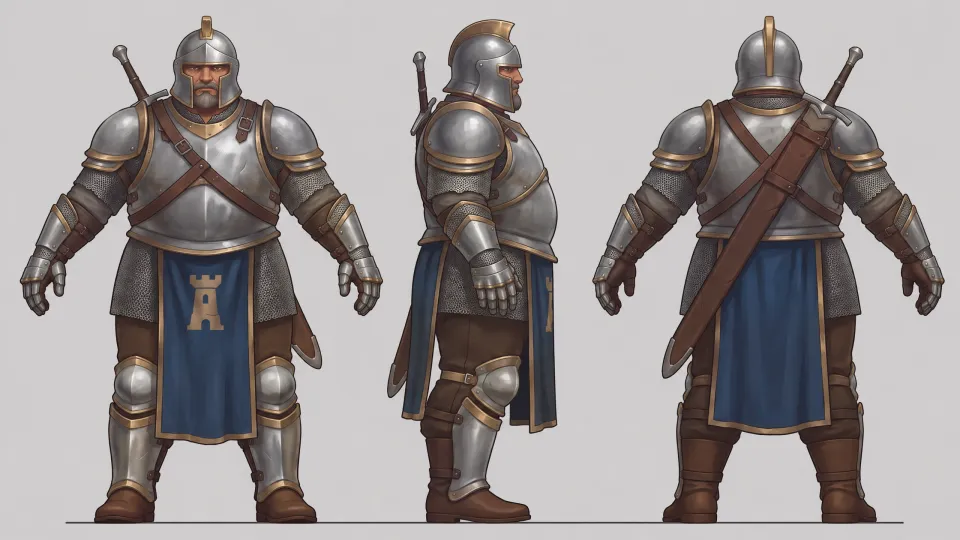
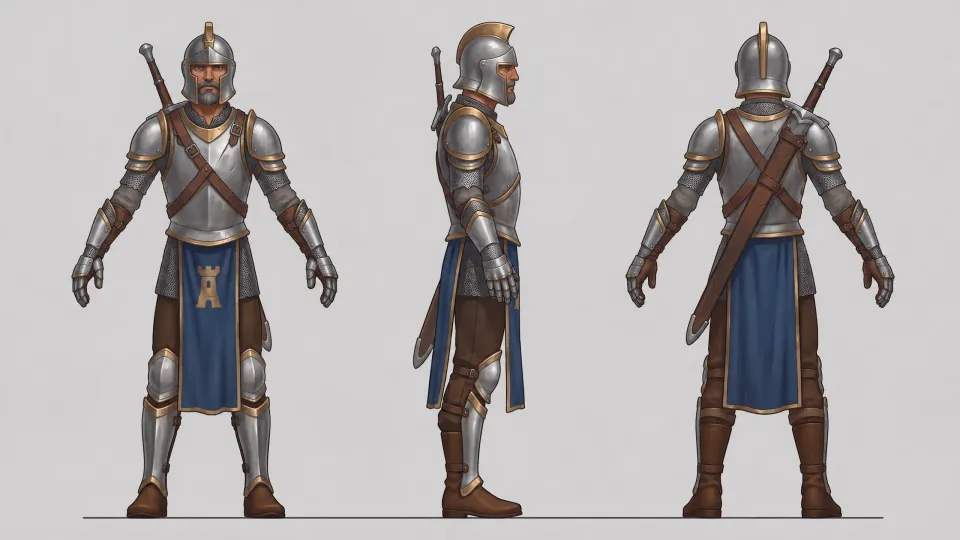
Also makes3D model · second build3D model · third build
8 things in 4 steps. Every example here was made in Fil with this workflow; point at a clip to play it.
How it starts
- Say what you want“A city-watch knight in steel plate and a blue tabard, fitted to three builds”, or a picture. Nothing to upload first.
- Pick from a few choicesClaude asks about who they are, their gear and their three builds, and tells you if a file is missing.
- Generate allBase body and Gear sheet first, then each next step as soon as what it needs is ready.
What you put in
- Concept artA drawing of your character, if you have one.Optional
- Gear referenceArmour, a weapon or an outfit whose design you want.Optional
- Style referenceArt from a game whose look you want.Optional
- Or start from one of these styles, picked for this workflow:
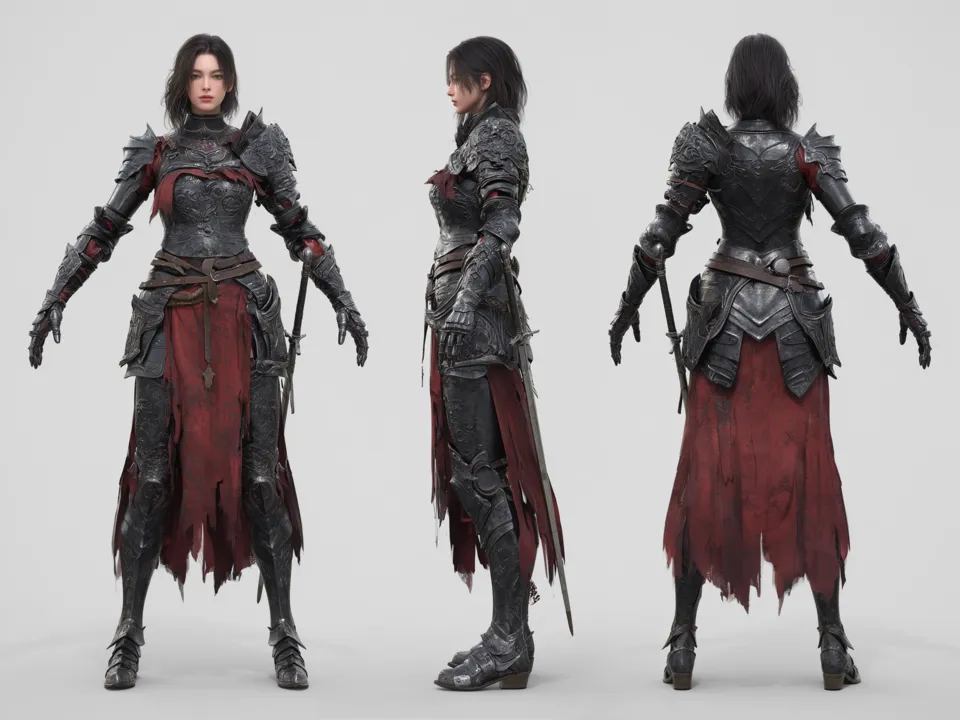 Game 3D
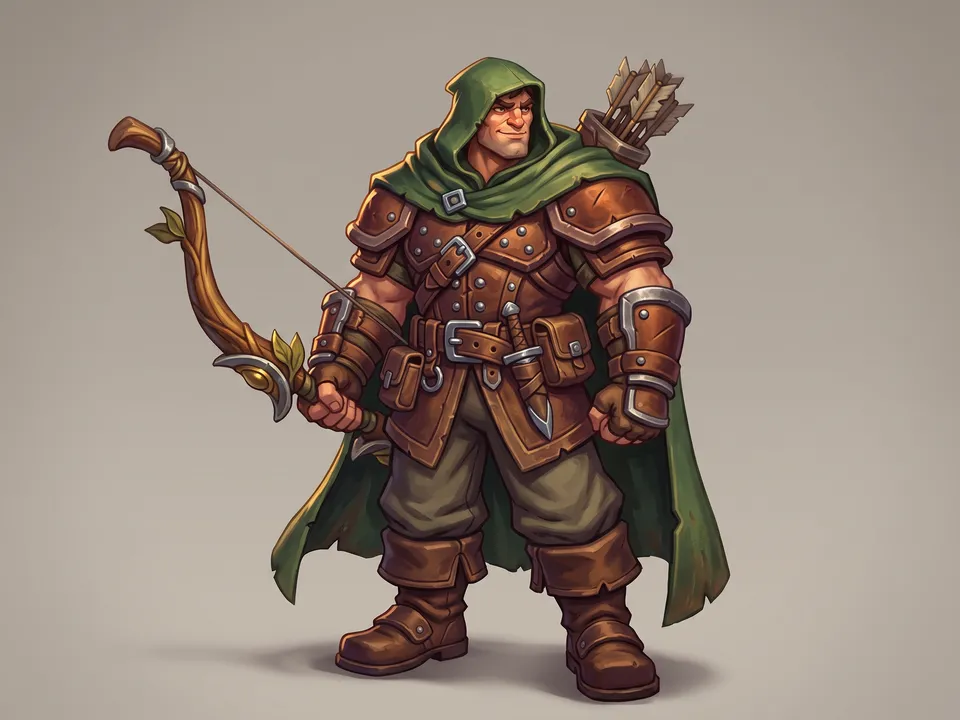 Stylized 3D
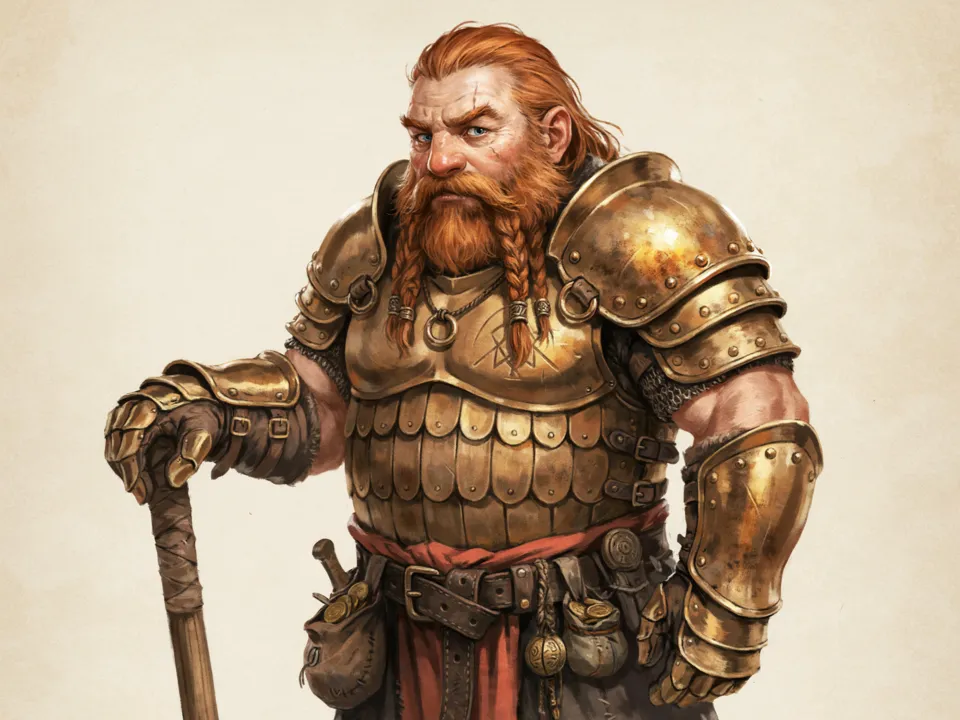 Painted concept
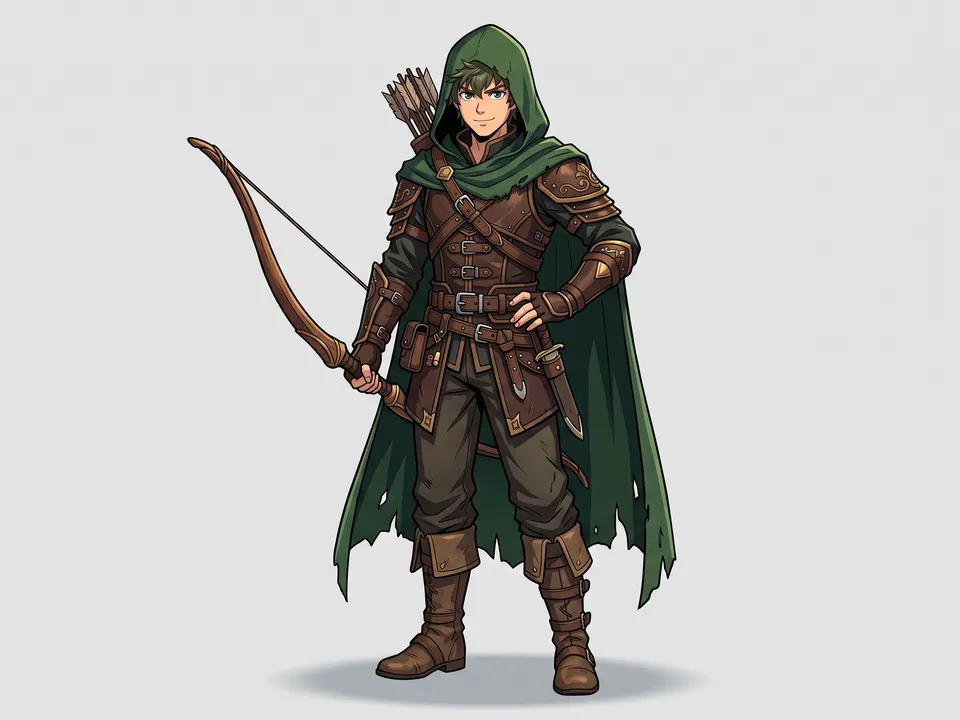 Cel-shaded
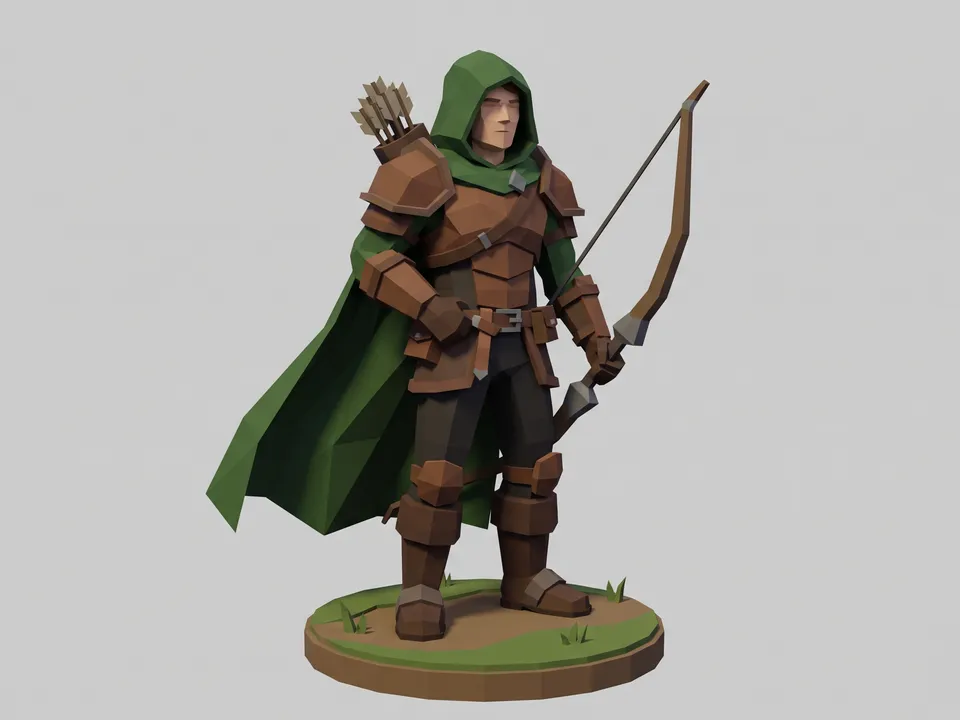 Low poly
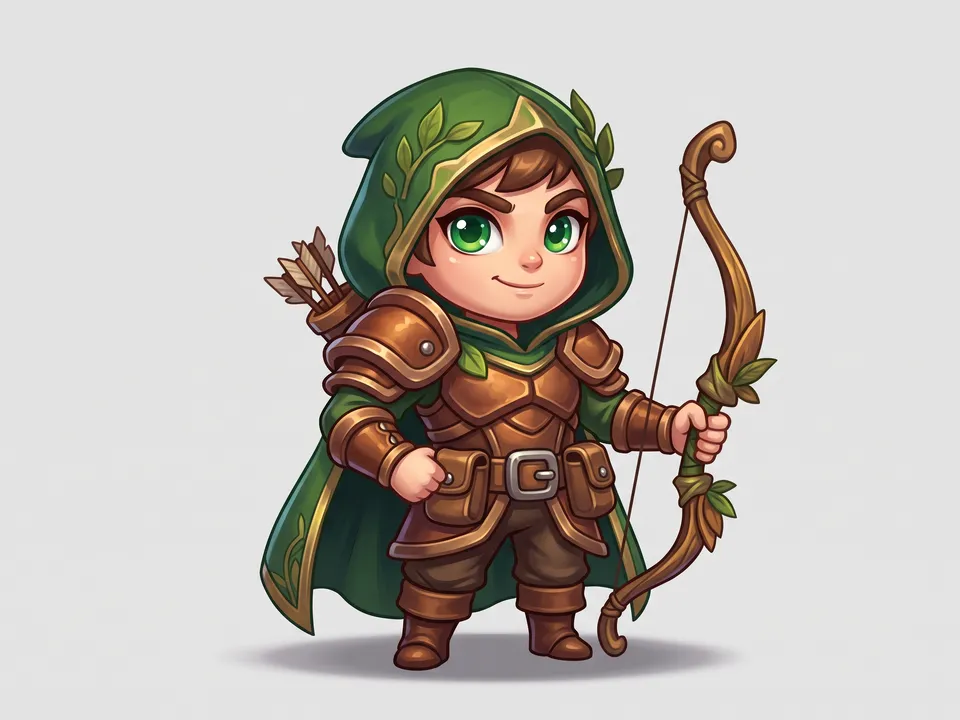 Chibi
Chibi
- Character.mdWho they are, their look and their three builds. Claude fills it in from your answers, or you can.Brief
- Gear.mdEvery piece of the set and what it’s made of. Claude fills it in from your answers, or you can.Brief
Nothing has to be uploaded to start: the canvas opens with a place for each file, ready when you are.
How it runs
Generate all runs it left to right: each step starts as soon as what feeds it is ready, and you see the whole price first. 3D model waits, unticked: check the turnaround’s three views first, then make the model. 3D model · second build waits, unticked: check the turnaround’s three views first, then make the model. 3D model · third build waits, unticked: check the turnaround’s three views first, then make the model. Or run any step yourself.
Step by step on the canvas
- Generate Base body and Gear sheet, and check every piece reads clearly.
- Generate Wearing the gear from both, and check each piece sits where it should in all three views.
- Generate Second build and Third build: the same gear refitted to each body.
- Generate a 3D model from each turnaround you’re happy with. Each comes rigged, ready for Animate.
Skill
The craft every step follows, written out. It comes with the workflow, and you can change it on the canvas.
Read the skill
Character gear
Read first
- Character.md: who they are, their look, the base layer under the gear, their three builds and the style.
- Gear.md: every piece of the set, where it's worn and what it's made of. Draw exactly these pieces, no more.
- Concept art or a gear reference wired in: keep its design. A style reference lends only its look.
Turnarounds (16:9, for 3D)
Every turnaround follows the same rules, so the builds line up and image-to-3D models read every side:
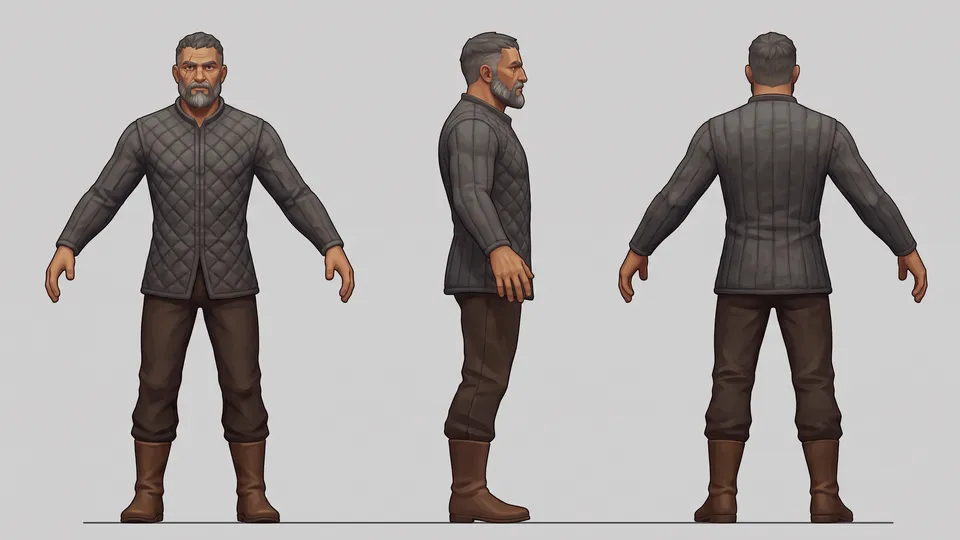
- Exactly three full-body views of the same character side by side, left to right: front, side profile and back, at the same scale in a relaxed A-pose (arms 30 to 45° from the body with clear background under them, legs slightly apart, empty hands, head straight), standing on one shared baseline, evenly spaced, each whole from top to bottom.
- A plain light grey background, soft even light and no cast shadows. Nothing else on the sheet: no close-ups, swatches, text or labels.
- Face, hair, skin and colours identical in every view and in every turnaround.
Base body
The first build from Character.md in its base layer only, with no gear, so the body's shape reads clearly: close-fitting clothes in one or two calm colours and the hair as it will be worn.
Gear sheet (16:9)
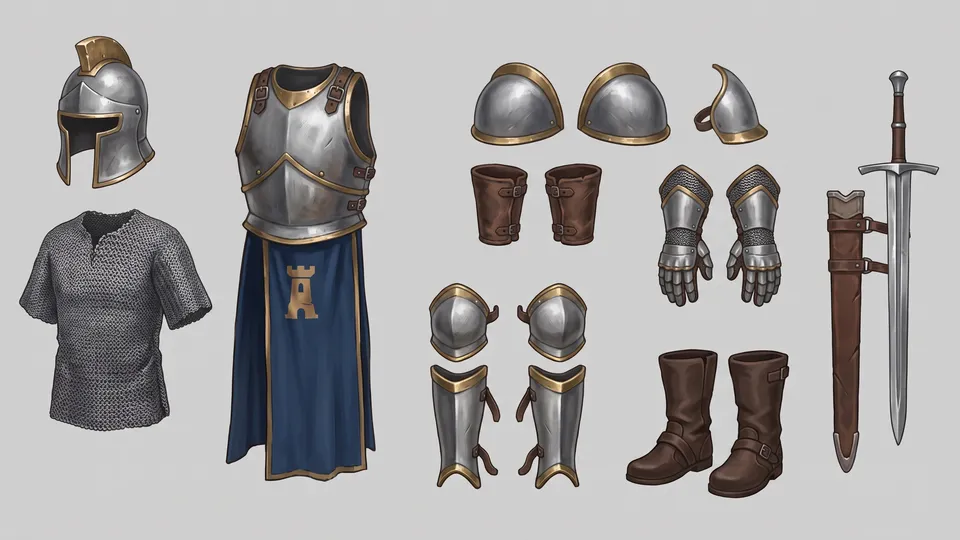
- Every piece from Gear.md laid out apart on the same light grey, each whole and facing front, from head to feet left to right, the weapon last.
- At sizes true to each other, as if worn by one person: a helmet beside the gauntlets reads at its real size.
- Shown empty, as objects: no body, mannequin or hands; the materials and colours from Gear.md; no text, numbers or labels.
Wearing the gear
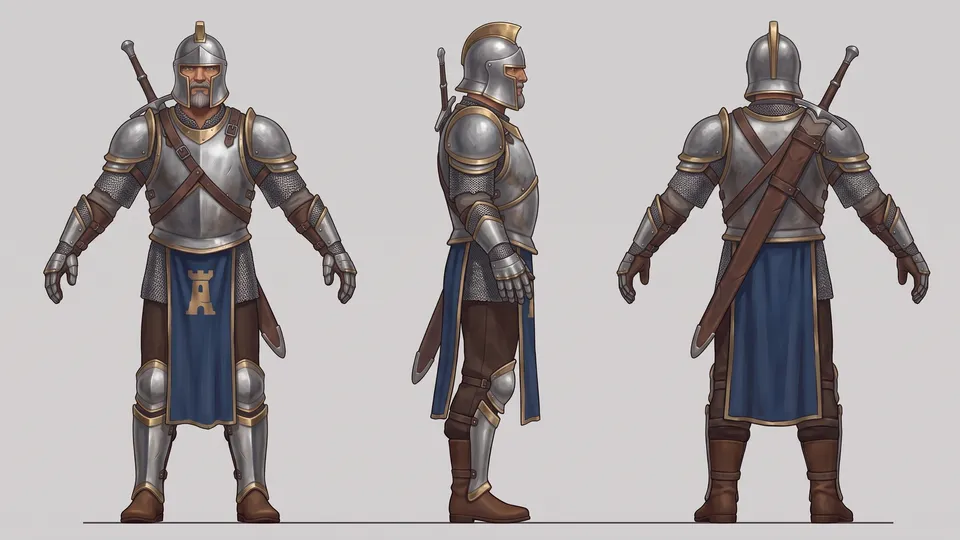
- The base body from its turnaround with every piece from the gear sheet on it in its place, matching the sheet's design, colours, materials and count.
- Gear sits on the body: armour follows the body's shape with a thin, even gap, straps wrap the limbs, pauldrons rest on the shoulders, and nothing floats or cuts through.
- A weapon is sheathed or slung flat against the back or hip and a shield hangs flat on the back, so the hands stay empty.
Another build
- The character wearing the gear, redrawn in the build its prompt names: only the body changes, and the change is plain at a glance. A heavy build is clearly wider through the chest, waist and limbs; a lean one clearly narrower, with thin arms and legs; a tall one stands clearly taller over the shared baseline, with longer legs and arms.
- Redraw the body first, then refit every piece to it, like a broader breastplate on a heavy chest or longer greaves on long legs. Each piece keeps its design, colours, materials, count and place.
- The same face, hair, pose and views as the geared turnaround, so the builds compare side by side.
Gear that models and rigs well
Solid, closed pieces that hug the body. Thin parts (straps, chains, crests) a little thicker than in life. A cape or tabard short enough to clear the legs, since loose cloth can't bend with a rig.
Avoid
Gear floating off the body, pieces that change between views or builds, pieces that aren't in Gear.md, dynamic poses, scenery and text.
Wired into 5 steps on the canvas, where you can change it.
More workflows
 3D assetA clean concept, a turnaround to check it, then a textured 3D model.About 4 minutes
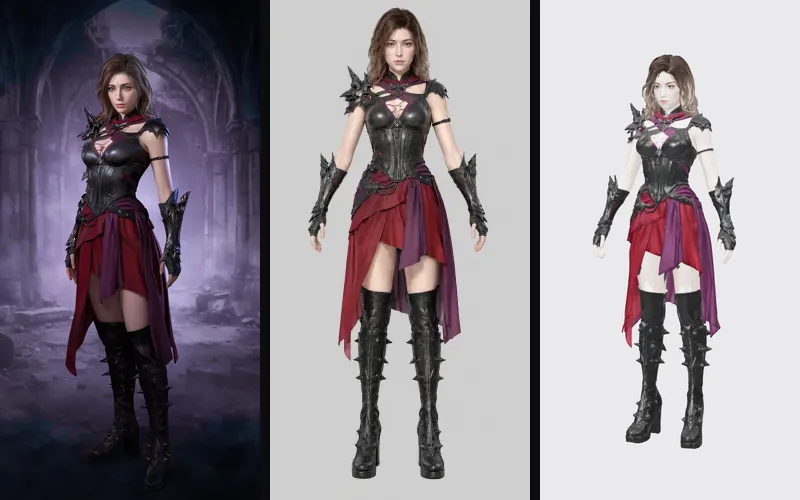 Game characterA concept, a clean A-pose turnaround and a 3D model ready to rig and animate.About 5 minutes
 Material maps to Three.jsA seamless surface and its maps, lit in a Three.js scene you can turn and publish.About 4 minutes